
 Applicable version: 7.1 "Requiem for the Netherworld" (launched 2026-09-23)
Genshin Impact 7.1 second half: two Cryo slots at once
Banners and weapon banner
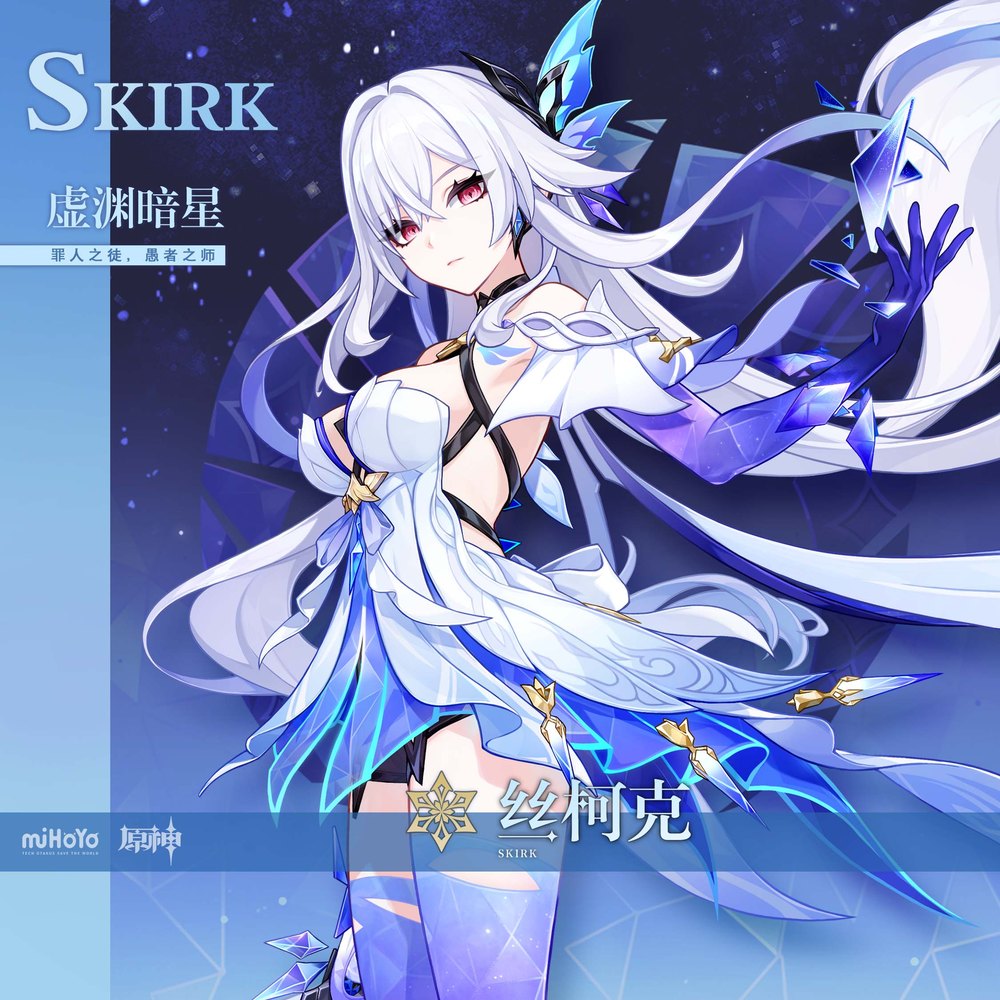
The second half brought the Void Star's Advent wish for Skirk and the Cherry Blossom Chanson wish for Escoffier, with the weapon banner adding the one-handed sword and a polearm built for her kit . Two Cryo units sharing a phase means one banner window covers a whole team. For Genshin Impact best teams, the freeze core is settled before the gear.
Side events
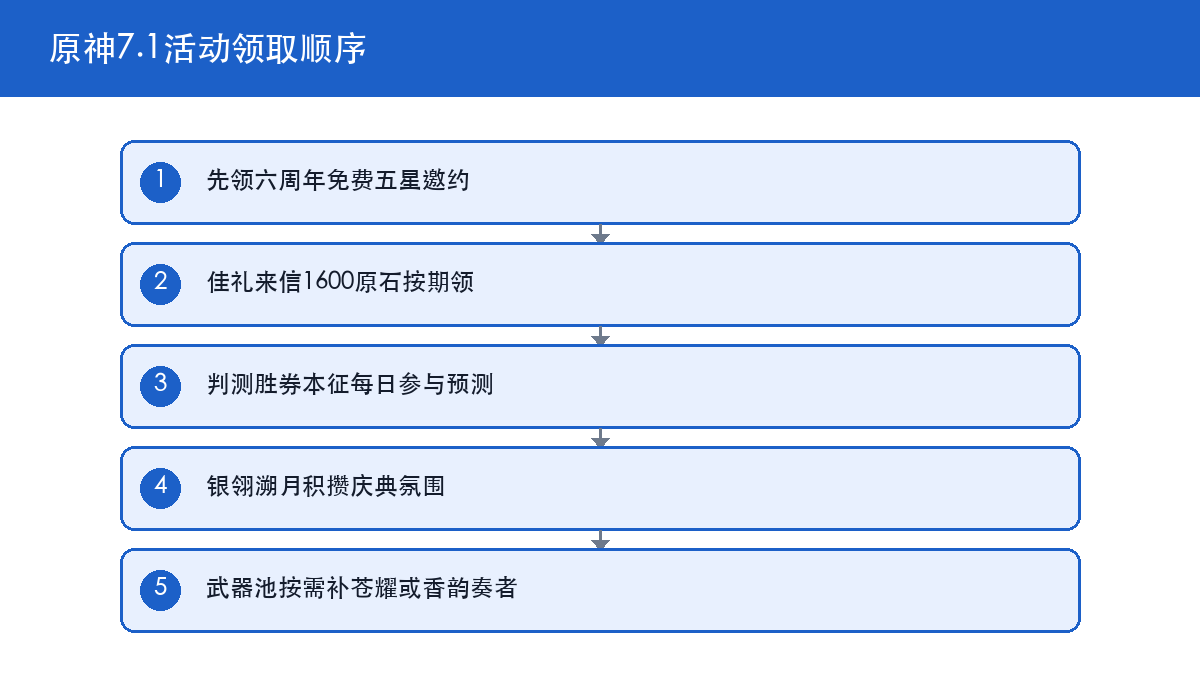
Version 7.1 also runs a match-prediction event in the same window . Community interest around the 7.1 banners sits almost entirely on these two Cryo slots, and the prediction event is a low-effort add-on rather than a reason to log in.

Genshin Impact 7.1 Escoffier role: Cryo polearm sub-DPS with healing
Escoffier is a five-star Cryo polearm character built as a sub-DPS and healer . Her value is not single-target damage but doing three jobs at once: applying Cryo, shredding resistance and healing the team.
Where the three jobs come from
Her elemental skill has a tap and a hold mode: the tap starts a cooling mode where the contraption follows the active character and periodically fires a frost shot, while the hold enters an improvised cooking mode. Her burst deals Cryo damage in an area and heals the team, then grants a recovery buff that heals the active character every second for nine seconds, scaling off her own attack .
How the resistance shred scales
Her passive shreds resistance based on how many Hydro or Cryo characters are in the party: one to four members means a 5%, 10%, 15% or 55% cut to enemy Hydro and Cryo resistance for twelve seconds . Only four aligned characters reach the 55% tier, and that is exactly why her team building is so rigid.

Genshin Impact 7.1 Escoffier artifacts and stats
Choosing between the two sets
| Set | When to run it | Note |
|---|---|---|
| Golden Troupe four-piece | Against enemies you cannot freeze | Broader buff |
| Blizzard Strayer four-piece | When freeze uptime is reliable | Higher payoff with freeze |
| Two plus two mix | Transitional | Wear it if the stats are better |
Main and sub stats
Sands take attack percentage or Energy Recharge, the goblet takes Cryo damage bonus, and the circlet takes crit rate or crit damage. Sub stat priority runs Energy Recharge, then crit rate and crit damage, then attack percentage . Community tier discussion about her always lands on the same line: get the energy first, then argue about crit.
The reason Energy Recharge comes first is that both her healing and her resistance shred are tied to her skill rotation. Break the rotation and the damage and the healing break together . In practice the most common mistake is very high crit and a burst that never comes off cooldown.

Genshin Impact 7.1 Escoffier weapons and materials
Weapon priority
Her signature polearm is best, with replacements ranging from a five-star crit polearm to the four-star Deathmatch, which is entirely serviceable . Because her core job is energy and resistance shred, the weapon gap matters less than artifact substats.
Talent and ascension cost
Talent priority is skill first, then burst, then normal attacks. One talent to level ten costs about 1,652,500 Mora, all three cost about 4,957,500 Mora, and ascension adds 420,000 Mora, putting a full build at roughly 5,377,500 Mora .

Genshin Impact 7.1 Skirk teams: freeze and the split
Two baseline teams
For freeze, run Escoffier, Kamisato Ayaka, Furina and Shenhe: Escoffier applies Cryo and shreds resistance, Furina amplifies damage, and Shenhe adds Cryo damage buffs. For a Skirk build, run Escoffier, Skirk, Furina and Yelan: Escoffier shreds Hydro and Cryo resistance and heals while Yelan and Furina supply Hydro .
Why the pair covers each other
Skirk's kit needs Hydro and Cryo teammates to reach full value, and Escoffier alone brings Cryo application, a double resistance shred and healing . Freeze teams usually hinge on whether you can field two Hydro and two Cryo characters, and Escoffier moves that condition from four slots to about two.More Genshin Impact coverage at gghubs.com guides.
Genshin Impact FAQ
Energy Recharge or crit first for Escoffier?
A: Energy first. Both her healing and her shred ride on the skill rotation, and breaking it breaks both .
Golden Troupe or Blizzard Strayer?
A: Blizzard Strayer if you can freeze reliably, Golden Troupe if you cannot, and a two-plus-two mix while you farm .
Can she work with a four-star weapon?
A: Yes. The four-star Deathmatch is serviceable because her core job is energy and shred, and the weapon gap matters less than substats .
How much Mora does a full build cost?
A: About 5,377,500 Mora, of which the three talents account for roughly 4,957,500 .
Should I pull both Escoffier and Skirk?
A: Depends on your Cryo gap. They complement each other, and Escoffier alone covers Cryo application, the double shred and healing, so take her first if you lack support .
Genshin Impact 7.1 action list
- Push Energy Recharge on Escoffier before crit rate and crit damage.
- Wear Blizzard Strayer with reliable freeze, otherwise Golden Troupe.
- Level talents in order: skill, burst, normal attacks.
- Build around two Hydro and two Cryo to reach the top shred tier.
- Take Escoffier for support needs, Skirk for a missing main damage dealer.
Game Guides
- Palworld 1.0.5 Breeding and Base Guide: Passives, Ranch and Work Splits
Palworld 1.0.5 guide covering the breeding power rules and special combos, how to filter mutated passive skills, which Pals belong on the ranch, how to reshuffle base Work Suitability after Ancient Bark dropped to level one, and the v1.0.4 Pal Critic exchange changes and build cap.
- Reverse: 1999 4.0 Dongzhi Team Guide: Lineups and Red Arrow Build Order
Reverse: 1999 4.0 guide covering how the Dongzhi system actually runs and why execution matters, Red Arrow's level and Psychube build order, which Insight upgrades to take first, three Dongzhi lineups, the execution mistakes that cost turns, and the free pulls in the 4.0 cruise celebration.
- Love and Deepspace Core Farming Route: Hunts, Stamina and Shop Priority
Love and Deepspace progression guide covering the three Core Hunt zones and their open days, difficulty thresholds, the daily and weekly activity gift boxes, exchange priority at the Heart Sand shop and the interstellar market, and which spare cores to dismantle.
- Honkai Star Rail 4.6 Pearl Build Guide: Relics, Light Cone and Elation Teams
Honkai Star Rail 4.6 guide covering Pearl as an Elation sustain unit, her mitigation and action-advance mechanics, relic sets and stat targets, why her signature light cone's energy matters, how four-Elation teams are built, speed breakpoints, and how to farm during the Planar Fission double-drop window.
- Wuthering Waves 3.7 Xin Build Guide: Echoes, Teams and QoL Changes
Wuthering Waves 3.7 guide covering Xin as the first playable Sentinel, her dual-form kit and Resonance Liberation, Echo and substat priorities for an Electro Rectifier unit, the team preset and Echo stacking quality-of-life changes, and how to choose between Suoming and the four re-run Resonators.
- Zenless Zone Zero 3.3 Severian Build: Drive Discs and Team Preview
Zenless Zone Zero 3.3 preview covering Severian's Aero Attack role, his signature W-Engine and drive disc stat priorities, how the two banner halves split the cast, and how to settle your resources before the version ends.
- Arknights Yesterday Sea Operator Guide: Pull Clementha or Farm Core Tactician
Arknights Yesterday Sea guide covering the Side Story schedule and the Labor Ration Exchange shopping order, Clementha's role and pull threshold, the free five-star Core Tactician, Del Toledo's low general value, and how the new base Recycle Station and Activity Room change your rotations.
- Palworld 1.0.5 Awakening Guide: Radiant Gem Farming and Holy Water Costs
Palworld 1.0.5 (2026-09-15) leaves Awakening as the only system that permanently raises a single Pal's ceiling: at an Ancient Workbench, 50 Radiant Gems of one element plus 10 World Tree Holy Water yields one Awakening Crystal, and consuming it permanently boosts that Pal's base HP, Attack and Defence. Finish the specimen first, reach level 80 and lock in the passives before spending gems .