
this Honkai Star Rail best teams companion covers the clear, not the tier list. Below: why 134 and 160 are the only two speed numbers that matter, how to split a burst team from a sustain team, which relic main stats to lock in before chasing sets, when a signature light cone is worth 12,800 Stellar Jade, and how 240 Trailblaze Power a day splits during Planar Fissure.
 Applicable version: 4.6 "Before the Moon Rises, Dance With Beasts" (live 2026-09-28; source: official 4.6 update notes, 2026-09-28)
Honkai Star Rail 4.6 at a glance: Forgotten Hall and Planar Fissure
The 4.6 update notes went live on 28 September 2026 , and Planar Fissure is running double Planar Ornament drops . Those two events stack, which means this week's Trailblaze Power belongs to Planar Ornaments, not Cavern of Corrosion.
Planar Fissure only affects Planar Ornaments
The double drop applies to Simulated Universe Planar Ornaments only, not relics . Players mix the two up constantly and spend the whole event in the wrong domain.
What to do during the patch
Finish Planar Ornaments first, then return to relics. Ornament main stats sit in a narrower pool and finish faster, while relics are a long grind .

Honkai Star Rail speed breakpoints: what 134 and 160 buy
Action value decides turn order. At 134 speed a character acts twice in the opening cycle; at 160 they act before most enemies . That is why 134 is the carry's pass line rather than a number to exceed.
The carry only needs 134
Past 134, extra speed does not convert into damage. Moving those substats into crit or attack raises total damage .
Supports want 160
Supports need to finish buffing before the enemy moves, otherwise the carry's opening burst misses the buffs entirely . Speed boots are effectively a support item.
Common misread: more speed is not better. Past the breakpoint the return is close to zero while crit substats get squeezed out .

Honkai Star Rail two-team split: burst and sustain
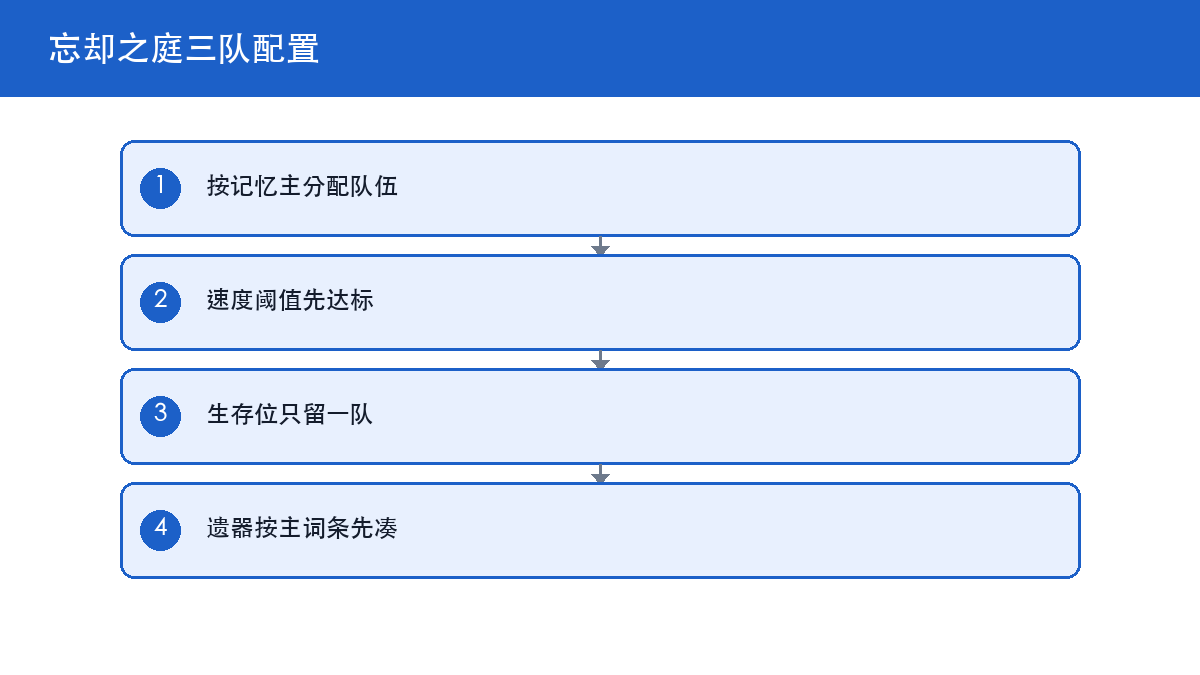
Later Forgotten Hall stages need two teams and characters cannot repeat . The split is fixed: one team plays the burst window, one grinds.
Burst team: clear a wave per cycle
The burst team leans on ultimates and follow-up attacks to clear a wave inside one cycle. Energy is the constraint: if the support cannot recharge fast enough, the carry's ultimate never lands.
Sustain team: survival first
The sustain team runs damage over time and basic attacks, and needs a shielder or healer to hold the field. Stacking two damage dealers here is the most common way to wipe on wave two.
| Team | Job | Key slots | Stat focus |
|---|---|---|---|
| Burst | One-cycle wave clear | Energy support plus carry | Crit rate and crit damage |
| Sustain | Steady grind | Shielder plus healer | Attack and speed |
| Flex | Cover weakness | Single-target amp | Effect hit and attack |

Honkai Star Rail relics: main stats before sets
Relics use six slots with 4-piece plus 2-piece as the standard pattern (source: in-game relic screen). A 4-piece set with wrong main stats loses to scattered pieces with the right ones.
Main stat order
Body takes crit rate or crit damage, feet take speed or attack percent, sphere takes elemental damage, rope takes attack percent or energy regeneration . Once those four are set, set bonuses are a bonus, not the goal.
Substats: crit first
Order substats crit rate, crit damage, attack percent, speed. Speed only matters when a few points reach a breakpoint; otherwise crit wins .

Honkai Star Rail light cones: is the signature worth it?
The character banner guarantees a five-star within 90 pulls at 50 percent rate-up, worst case 180 pulls or 28,800 Stellar Jade; the light cone banner guarantees within 80 pulls at 75 percent rate-up . At 160 Jade per pull, the cone ceiling is 12,800.
When the signature pays
If the carry has no high-tier cone on its path and the four-star options have mismatched passives, the signature adds roughly 10 to 15 percent . Otherwise the Jade is better spent on characters.
When four-star cones hold
A four-star at superposition 5 closes most of the gap through its passive . The cost is duplicate copies, which is slow for free players.

Honkai Star Rail planning: splitting 240 Trailblaze Power
Trailblaze Power regenerates one point every six minutes, 240 a day, and both Planar Ornaments and relic domains cost 40 per run, so a day is six runs .
During the double-drop event
Send all 240 into Planar Ornaments while the event runs; doubling is effectively half price . Return to relic domains after it ends.
Normal weeks
Split four runs into relics and two into trace materials. Trace materials are deterministic and relics are random, so alternating beats betting everything on one domain.Character and team records for this patch are collected on GameHub.
Honkai Star Rail FAQ
How many teams does Forgotten Hall need?
A: Two in later stages, with no character reuse; split burst and sustain
What speed should I aim for?
A: 134 on the carry for two opening actions, 160 on supports to move first
Sets or main stats first?
A: Main stats. A wrong-stat 4-piece set loses to correct-stat scattered pieces.
Is the signature light cone worth pulling?
A: The cone banner guarantees in 80 pulls at 75 percent rate-up, a 12,800 Jade ceiling; pull only if the carry has no solid alternative.
How many domain runs per day?
A: 240 Trailblaze Power at 40 per run is six runs .
Action checklist
- Spend the whole Planar Fissure window on Planar Ornaments.
- Cap carry speed at 134 and move spare substats into crit.
- Put speed boots on supports and push them to 160.
- Fix relic main stats before chasing set bonuses.
- Write down both team rosters so no character repeats.
Game Guides
- Palworld 1.0.5 Base Production Lines: Work Suitability and the Ancient Bark Chain
A Palworld base should not build a little of everything. Lay it out in three zones — gathering, crafting, hauling — and put exactly one Pal on each station, with everything else shifted to transport or planting. Since v1.0.4 dropped Ancient Bark gathering to Work Suitability Lv. 1, the early wood chain costs far less to start .
- Reverse: 1999 4.0 Artificial Somnambulism: Three Teams, Insight III and Resonance
Full-starring Artificial Somnambulism in 4.0 comes down to two rules: teams cannot reuse characters, and Insight III goes only to each team's core. Write the three jobs down first (damage, debuff, survival), then concentrate Insight III on one core per team and stop resonance at 10 .
- Love and Deepspace Memory Progression: Breakthroughs, Empyrean Gems and Stamina
Build the active memory to its level cap first, break through only when the cap blocks you, and dump Empyrean upgrades into a single card. Each day, clear dailies and the home loop before material stages. A limited banner's 70-pull soft pity costs 10,500 diamonds, so never trade diamonds for stamina .
- Genshin Impact 7.1 Cryo Builds: Skirk and Escoffier Artifacts and Abyss Teams
The 7.1 double Cryo banners are less about who to pull and more about what you farm afterwards. Cryo carries want a Cryo DMG goblet and 70 percent crit rate before crit damage climbs to 140 percent; support slots want energy recharge and EM instead of competing for crit pieces .
- Wuthering Waves 3.7 Weapon vs Resonance Chain: Which Pull Wins
Two Electro five-stars landed in the same 3.7 patch and your Astrite only covers one. The answer is short: pull the weapon banner first (80 pulls guarantees the rate-up, 12,800 Astrite), then consider Resonance Chain 1 or 2. Chains 3 and up do not decide a Tower clear .
- Zenless Zone Zero Shiyu Defense Full-Star Guide: Three Teams, Stun Chains and Drive Disc Choices
Clearing Shiyu Defense at full stars is not about raw investment. It is about stun order and about never reusing a team across the two halves. Split three teams by job (rush the clock, hold the line, cover the weakness), keep one good drive disc set on the deepest node, and let the other two run 4+2 stopgaps until 3.3 lands .
- Arknights October Progression Ledger: E2 Costs, Module Order and Sanity Math
Spend the last two weeks of October clearing the Hengyuan Jinliang event rewards first, then push Elite 2 with leftover sanity in the order chips, LMD, skill summaries. A six-star from E1 max to E2 costs a flat 180,000 LMD and roughly 900–1,100 sanity .
- Palworld 1.0.5 Breeding Guide: Mutation Odds, Cake Costs, Awakening Order
Applicable version: v1.0.5 (official patch notes, 2026-09-15) · 1.0 release line (Steam release date 2026-07-09)