
this Zenless Zone Zero team comps piece covers only Shiyu Defense. Ratings weigh clear time and hits taken, later nodes split into two halves with no character reuse, so plan three teams before you queue. Stun gauge, chain attacks and assist timing decide whether you beat the timer; drive disc 4+2 versus 2+2+2 and stat priority sit in the fifth section, and whether to pull in Zenless Zone Zero 3.2 banners is the last one.
 Applicable version: client 3.2.0; 3.3 "Journey Back to the Sky" goes live 2026-10-21 06:00 (source: official 3.2 update notice; 3.3 numbers subject to official announcement)
Zenless Zone Zero 3.3 timing: 21 October is the dividing line
Version 3.2 runs a 42-day cycle, and the official 3.2 notice states the version ends 2026/10/21 06:00 UTC+8 . That leaves two days. 3.3 brings new drive disc stages and new agents, so dumping every battery into old stages now means starting from zero on day one of the new patch.
Should you farm drive discs right now
No, with one exception: if a single piece would complete your 4-piece set, finish it. Otherwise hold batteries until after 21 October (source: official patch cadence plus third-party resource tracking).
Zenless Zone Zero Shiyu Defense scoring: how the rank is decided
The rating weighs clear time and hits taken. Faster clears with fewer hits rank higher, and the S threshold generally sits at 50 percent or more time remaining . That makes consistency worth more than flash: one interrupted chain costs more time than two clean sequences recover.
The two halves cannot share characters
Later nodes split into two halves, and a character used in the first half cannot appear in the second . This is why three teams exist: one to rush the clock, one to hold the line, one to cover a mismatched weakness. Players who only build two teams stall on the second half.
Weakness decides the route
Each rotation fixes enemy weaknesses, and matching the element builds the stun gauge noticeably faster .. Forcing a non-matching team usually drags the clear past the rating threshold.
Zenless Zone Zero stun chains: break the gauge before you burst
Damage in ZZZ follows stun, chain, burst. Filling the stun gauge puts the enemy in a stunned state with increased damage taken and opens chain attacks.The correct order is build stun, swap to your main damage dealer, then burst, not open with an enhanced special.
Stun gauge and chain attacks
Chain attacks trigger when the enemy is stunned and a chain-capable character is in the squad. Chain time is effectively free damage, so line the chain up so it covers your carry's burst window .
When to use assists
Assists do two jobs: interrupt enemy actions and extend stun. They pay off most when timed half a second before the enemy's wind-up; early wastes invincibility frames, late eats the hit. Learning this timing shows up in results faster than learning another damage rotation.
Easy to miss: enemies have super-armor phases where stun buildup is close to worthless. Back off and wait it out rather than feeding hits into the gauge .
Zenless Zone Zero three-team setup: roles, not three carries
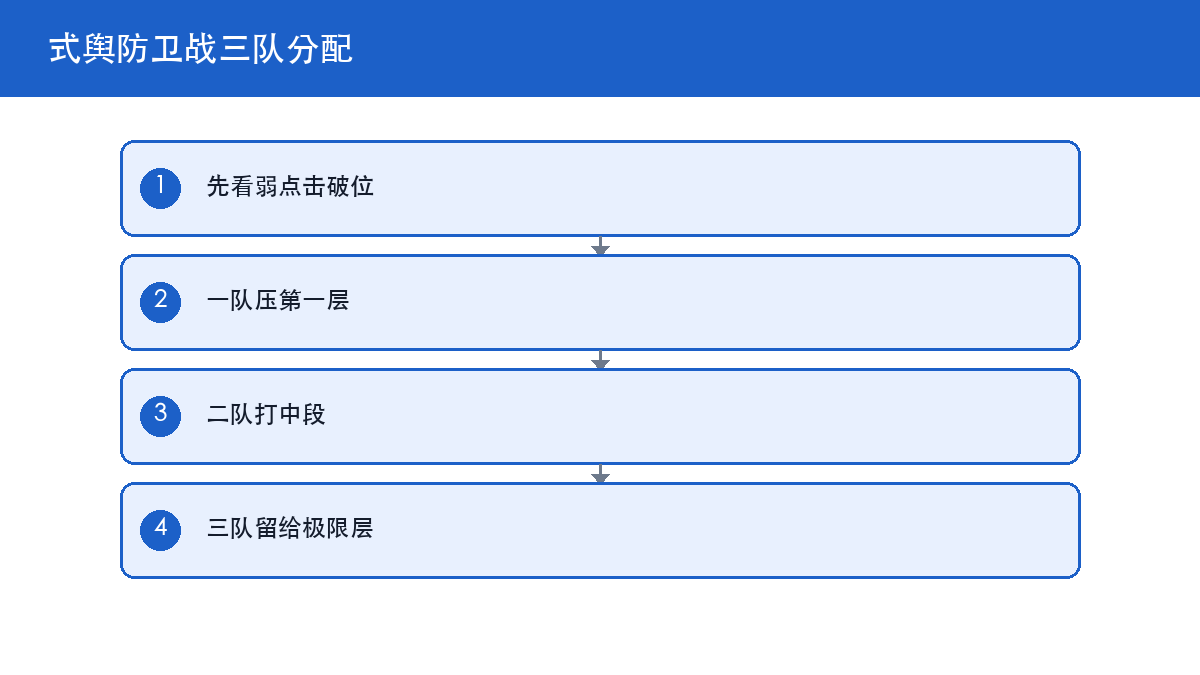
The split is by function, not by damage. One team rushes the clock, one holds the line, one covers weaknesses. Each team needs exactly one character who can fill the stun gauge; the rest of the slots go to buffs and survival .
| Team | Job | Build approach | Used on |
|---|---|---|---|
| Team 1 | Rush the clock | Stun unit + carry + buffer | First half, low HP enemies |
| Team 2 | Hold the line | Anomaly + sustained damage + shield | Second half, multi-wave |
| Team 3 | Cover weakness | Matching element + universal support | Nodes where team 1 and 2 miss the weakness |
Team 1: push past 50 percent time remaining
Team 1 aims for one stun per wave. The stun unit builds gauge with fast hits, the carry dumps an enhanced special the moment the enemy is stunned, and the chain closes it out. High execution, highest time payoff.
Teams 2 and 3: steady and patchwork
Team 2 leans on anomaly damage over time, which suits multi-wave nodes. Team 3 only appears when the weakness does not line up, so it does not need perfect discs; 4+2 is enough .
Zenless Zone Zero drive discs and W-Engines: 4+2 or 2+2+2
Drive discs use six slots, with set bonuses triggering at four pieces and two pieces.The answer is blunt: carries run 4+2, supports run 2+2+2, because a support's set bonus is worth far less than correct main stats.
Stat priority: crit rate before crit damage
For carries, main stats favour crit rate, with substats ordered crit rate, crit damage, ATK percent. Below 50 percent crit rate, stacking crit damage actually lowers expected damage.This is the real reason many players feel their damage is missing.
W-Engines: the signature is optional
The W-Engine banner runs 75 percent rate-up with an 80-pull hard pity . For Shiyu Defense, an A-rank engine with the right substats lands within about 10 percent of the signature . so it ranks below agents and discs.
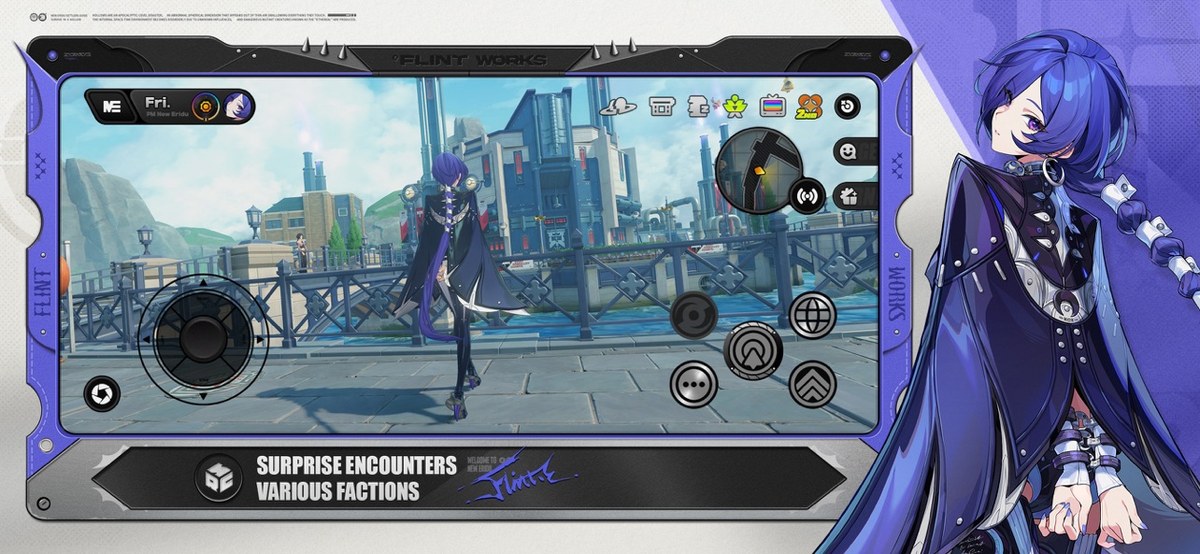
Zenless Zone Zero planning: three things before 3.3
Two days cover three tasks: clear this Shiyu rotation, hold batteries for the new patch, and check your Polychrome stock.
The Polychrome math
Limited banners guarantee an S-rank within 90 pulls, 50 percent of which is the rate-up agent, with the next S-rank guaranteed after a loss, so the worst case is 180 pulls .. At 160 Polychrome per pull that is 28,800; a patch regenerates roughly 8,000 to 9,000 Polychrome, or 50 to 56 pulls .
Pre-farm only generic materials
Materials unique to 3.3 agents are not published yet, so the only safe pre-farm is generic (Investigator Logs, Dennies) plus class promotion seals . Wait for the 21 October reset for the rest.Version-by-version notes are collected on GameHub.

Zenless Zone Zero FAQ
How many teams does Shiyu Defense need?
A: Three in practice. Later nodes split into halves with no character reuse, so two teams stall on the second half .
What is the time threshold for an S rank?
A: Generally 50 percent or more time remaining, plus hits taken. Exact thresholds vary by node; check the in-game rating screen.
Do I need a 4-piece drive disc set?
A: Carries run 4+2, supports run 2+2+2. A support's set bonus is worth less than correct main stats .
Should I pull before 3.3?
A: No. 3.3 starts 2026-10-21 06:00, and a worst-case 180 pulls costs 28,800 Polychrome .
Is the signature W-Engine mandatory?
A: No. The banner has an 80-pull hard pity worth 25,600 Polychrome, and an A-rank engine with matching substats trails by about 10 percent.

Action checklist
- Clear this Shiyu rotation today for the full rating rewards.
- Hold batteries until after 21 October instead of draining old stages.
- Build three teams by job, not three carries.
- Push carry crit rate to 50 percent before stacking crit damage.
- Note your Polychrome stock and claim compensation and check-ins before pulling on 3.3 day.
Game Guides
- Palworld 1.0.5 Base Production Lines: Work Suitability and the Ancient Bark Chain
A Palworld base should not build a little of everything. Lay it out in three zones — gathering, crafting, hauling — and put exactly one Pal on each station, with everything else shifted to transport or planting. Since v1.0.4 dropped Ancient Bark gathering to Work Suitability Lv. 1, the early wood chain costs far less to start .
- Reverse: 1999 4.0 Artificial Somnambulism: Three Teams, Insight III and Resonance
Full-starring Artificial Somnambulism in 4.0 comes down to two rules: teams cannot reuse characters, and Insight III goes only to each team's core. Write the three jobs down first (damage, debuff, survival), then concentrate Insight III on one core per team and stop resonance at 10 .
- Love and Deepspace Memory Progression: Breakthroughs, Empyrean Gems and Stamina
Build the active memory to its level cap first, break through only when the cap blocks you, and dump Empyrean upgrades into a single card. Each day, clear dailies and the home loop before material stages. A limited banner's 70-pull soft pity costs 10,500 diamonds, so never trade diamonds for stamina .
- Honkai Star Rail 4.6 Forgotten Hall: Speed Breakpoints, Relics and Light Cones
Full-starring Forgotten Hall in 4.6 is a speed problem before it is a roster problem. A carry wants 134 speed for two actions in the opening cycle, and supports want 160 to move before the enemy and apply buffs. Two teams cannot share characters, so split jobs first, then chase stats .
- Genshin Impact 7.1 Cryo Builds: Skirk and Escoffier Artifacts and Abyss Teams
The 7.1 double Cryo banners are less about who to pull and more about what you farm afterwards. Cryo carries want a Cryo DMG goblet and 70 percent crit rate before crit damage climbs to 140 percent; support slots want energy recharge and EM instead of competing for crit pieces .
- Wuthering Waves 3.7 Weapon vs Resonance Chain: Which Pull Wins
Two Electro five-stars landed in the same 3.7 patch and your Astrite only covers one. The answer is short: pull the weapon banner first (80 pulls guarantees the rate-up, 12,800 Astrite), then consider Resonance Chain 1 or 2. Chains 3 and up do not decide a Tower clear .
- Arknights October Progression Ledger: E2 Costs, Module Order and Sanity Math
Spend the last two weeks of October clearing the Hengyuan Jinliang event rewards first, then push Elite 2 with leftover sanity in the order chips, LMD, skill summaries. A six-star from E1 max to E2 costs a flat 180,000 LMD and roughly 900–1,100 sanity .
- Palworld 1.0.5 Breeding Guide: Mutation Odds, Cake Costs, Awakening Order
Applicable version: v1.0.5 (official patch notes, 2026-09-15) · 1.0 release line (Steam release date 2026-07-09)