
This Palworld tier list-adjacent run order breaks down the towers: the five classic bosses with their elements and health ranges, the climate gear each region demands, why a counter element belongs in every squad, and how the two 1.0 towers and the World Tree finale slot in. Health figures come from the bwiki tower page and Palworld best pals guide picks follow the same counter logic.
 Applicable version: v1.0.5 (2026-09-15)
Palworld v1.0.5 tower order: level 10 through level 80
Why you cannot skip ahead
Tower bosses scale by level. Early bosses have long windups and slow projectiles that a sideways dodge or a stone pillar handles, while later fights compress your margins hard, so challenging out of order wastes attempts .
What 1.0 changed in the count
The 1.0 release lifted the boss count from 7 to 9 towers, adding one in the Sunreach region and one as the World Tree finale . The same patch raised the player level cap from 65 to 80 to match the level 80 finale .

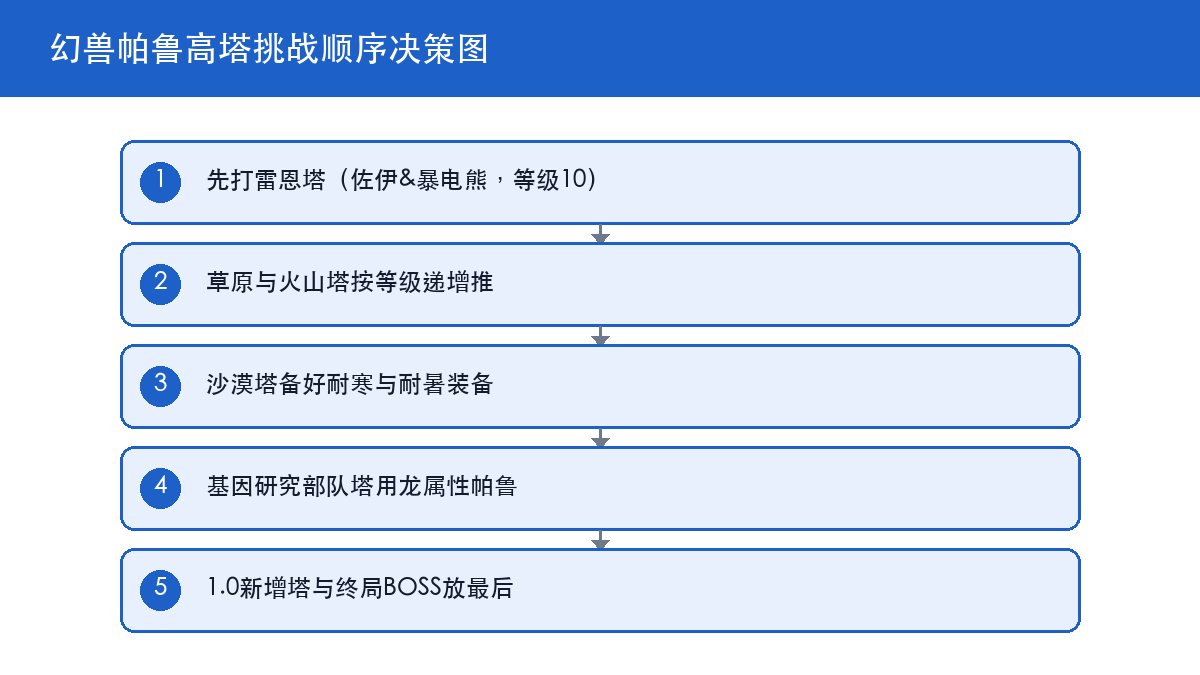
Palworld five classic towers: elements and counters
| Order | Tower and coordinates | Boss | Health | Element and counter |
|---|---|---|---|---|
| 1 | Rayne Syndicate Tower (111,-431) | Zoe and Grizzbolt | 30550 | Electric, countered by Ground |
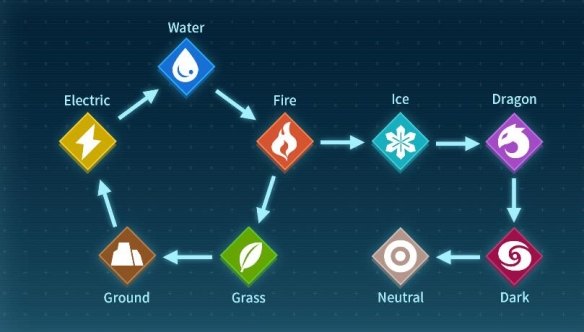
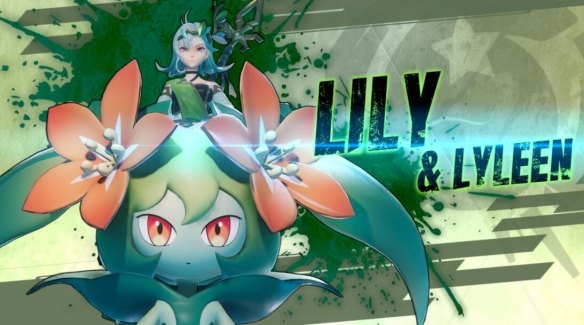
| 2 | Free Pal Alliance Tower (183,30) | Lily and Lyleen | 69375 | Grass, countered by Fire |
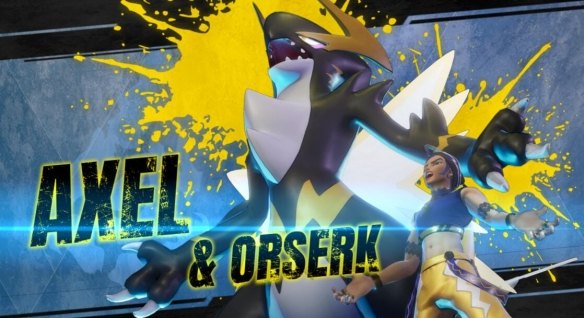
| 3 | Brotherhood of the Eternal Pyre Tower (-587,-518) | Axel and Orserk | 130700 | Electric/Dragon, countered by Ground/Ice |
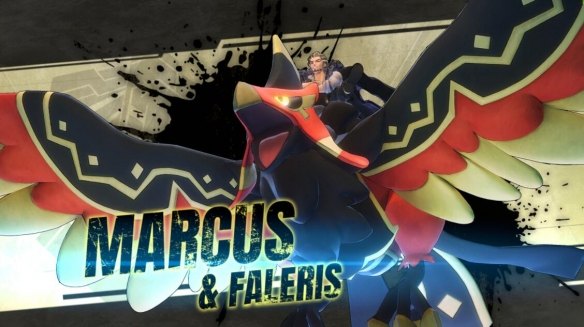
| 4 | PIDF Tower (558,-333) | Marcus and Faleris | 146975 | Fire, countered by Water |
| 5 | Genetic Research Unit Tower (-148,-447) | Victor and Shadowbeak | 200750 | Dark, countered by Dragon |
the 1.0 balance pass may have adjusted them, so treat the in-game values as final). Health climbs from 30550 to 200750, more than six times over, which is the concrete reason skipping levels does not work.
Palworld tower preparation: climate gear and consumables
Three climate requirements
The Eternal Pyre tower sits in a volcano with permanent level 3 heat and needs Heat Resistance level 3; the PIDF tower sits in desert with extreme day-night swings and needs both Cold Resistance level 3 and Heat Resistance level 3; the Free Pal Alliance tower is high-altitude and wants Cold R. Merchants in the fishing village at the volcano's foot and in the desert town sell the relevant undergarments.
What to bring
Ranged weapons and plenty of ammunition are the baseline, plus one melee backup since tower arenas are tight; estimate healing items at roughly a third of your health pool (reasoning: tower fights are sustained damage checks with spikes inside mechanic windows). Failed attempts cost no progress, so there is no need to over-stock.
Palworld tower squads: why counters are non-negotiable
The value of a counter
A dual-element boss exposes two weaknesses at once, so an Electric/Dragon boss takes extra damage from both Ground and Ice . Bringing the right element is not a small bonus; it compresses fight length, and in the three towers above 100000 health the difference is measured in minutes.
How to build the squad
Keep one Pal whose job is soaking mechanics through high health or shields, and stack the damage slots with the boss's weakness. Running all of one element is the mistake, because someone has to hold the boss during its multi-phase patterns (reasoning: fight length and tolerance needs). The Genetic Research Unit tower is the exception: non-Dragon Pals struggle badly, so bring a Dragon carry .
Palworld 1.0 towers: Sunreach and the World Tree finale
Where they sit in the order
The two 1.0 towers come after the classic five: clear the existing bosses, then move into Sunreach's sky islands, and finish at the World Tree . The finale is reported as level 80 with no fixed elemental weakness, which makes it a gear check rather than a counter puzzle.
How the fights differ
With no exploitable weakness, the finale rewards maximum investment plus reliable healing over counter-based burst, while the Sunreach tower requires completing regional prerequisites first . Given the Awakening and Mutation systems that arrived with the 1.0 release, building one all-purpose damage Pal before entering is the safer order .
Palworld investment order
| Priority | Action | Reason |
|---|---|---|
| 1 | One damage Pal per weakness element | The classic five cover Ground, Fire, Ice, Water and Dragon |
| 2 | One high-health soak Pal | Mechanic windows need a body |
| 3 | Heat and cold resistance gear | Hard gates at the volcano and desert towers |
| 4 | One generalist carry before the finale | No weakness to exploit at level 80 |
On materials, v1.0.3 lowered Jetragon's technology unlock level from 79 to 70 and cut its Pal Gear material cost , which makes the late-game mount line easier to finish. Version v1.0.4 then dropped the Work Suitability for harvesting Ancient Bark to level 1, so base material supply costs fewer hands . Together, the run-up to the towers is lighter than it was right after the 1.0 release.More guides at gghubs.com.
Palworld FAQ
How many towers are there?
A: The 1.0 release has 9 tower bosses, up from 7 in early access, with the new ones in Sunreach and the World Tree .
How should I fight Zoe and Grizzbolt?
A: Level 10, 30550 health, Electric and countered by Ground, with long windups you can dodge sideways or block behind pillars .
What gear does the volcano tower need?
A: Heat Resistance level 3, since the volcano region has permanent level 3 heat .
How do I beat the Genetic Research Unit boss?
A: 200750 health, Dark and countered by Dragon, so bring a Dragon carry .
What version is the game on?
A: v1.0.5, released 2026-09-15, mainly fixing terrain and building textures loading at low resolution .
Palworld tower action list
- Progress in level order, starting with the Rayne Syndicate tower to learn the mechanics.
- Prepare Heat and Cold Resistance level 3 gear before the volcano and desert towers.
- Swap in a weakness-element Pal per tower, and a Dragon for the Genetic Research Unit.
- Keep one high-health soak Pal in every squad.
- Use a generalist carry against the finale instead of hunting for a weakness.
Game Guides
- Reverse: 1999 Version 4.0.0 Second Half Guide: Drake, the October 15 Banner Swap and Free Rewards
Reverse: 1999 has moved into the second half of version 4.0.0, and the banners swap on October 15: Drake arrives as a new standard six-star Beast character, while a pick-your-own rate-up runs with Quniang, Liangyue, Nana, Lucy and Nodica selectable . The first half's limited SP Crossbow banner closes at the same point, so October 15 is a clean dividing line.
- Love and Deepspace Xavier Birthday Guide: Wish Upon This Moment Banner Window
Love and Deepspace's Xavier birthday event is live, and the birthday five-star Memory is obtainable from 2026-10-11 at 05:00 to 2026-10-18 at 04:59 (source: official birthday calendar and birthday Memory announcement, 2026-10-08). The window is only seven days and it is a single-character banner rather than a pooled one, so the budget is easier to plan, provided you count your tickets and diamonds before you start pulling. The single target is the main advantage: there is no risk of boosting the wrong Memory and no need to compare three candidates.
- Honkai: Star Rail 4.6 Planar Fissure Guide: Double Relic Drops and Immersifier Spending
Honkai: Star Rail's 4.6 Planar Fissure event is live, and Planar Ornaments drop double rewards for the duration . The doubled runs are limited and do not reset during the event, so the goal is not farming more but spending the limited runs on the two worlds your roster actually needs.
- Genshin Impact 7.1 Imaginarium Theater Guide: Ice, Hydro and Anemo Stacking
The October 2026 Imaginarium Theater rotation locks the playable elements to Ice, Hydro and Anemo, and its core mechanic grants one stack of Frost Benediction whenever your party triggers Swirl, with each stack adding 80% Swirl damage and 12% crit damage up to 3 stacks . So the rotation is not about raw damage but about Swirl frequency, getting the blessing to full stacks as fast as possible.
- Wuthering Waves 3.7 Tower of Adversity Lineup Guide: Mid Tower Splits and Side Tower Stamina
The Wuthering Waves 3.7 Tower of Adversity refreshed on October 13, and this rotation cuts Havoc resistance on the left tower's fourth floor, which clears the way for Havoc teams. The mid tower remains the hardest part of the cycle, with Sunmoon, Cartethyia and Phrolova squads still carrying it, Zhanfei usable, and Galbrena needing Qiuyuan to reach full shape. If you only need the rewards, the side towers auto-clear and your stamina belongs to the mid tower.
- Zenless Zone Zero 3.2 Shiyu Defense Guide: Three Teams and the October 2 Rotation
Zenless Zone Zero's October 2 Shiyu Defense rotation runs through October 16 and ends in a three-room score check where each room caps at 25,000 points for an S rank and the total reaches 100,000 (source: in-game Shiyu Defense interface plus creator testing, 2026-10-02). If you only want the Polychrome, getting all three rooms to S is enough, because the reward gate is the S rank and not the total.
- Arknights October 9 Update Guide: New Modules, Paradox Simulations and Voucher Timing
Arknights ran a forced maintenance on 2026-10-09 that shipped four free progression tracks at once: 4 operator records, 4 Paradox Simulations, 4 exclusive modules including the second modules for Shou and Ulpianus, plus 5 Originite Prime in compensation . The dates worth writing into a calendar are 10-15 04:00 for the mid-tier headhunting refresh and voucher store update, and 10-16 04:00 for the Security Service reward refresh .
- Palworld 1.0.5 Breeding and Base Guide: Passives, Ranch and Work Splits
Palworld 1.0.5 guide covering the breeding power rules and special combos, how to filter mutated passive skills, which Pals belong on the ranch, how to reshuffle base Work Suitability after Ancient Bark dropped to level one, and the v1.0.4 Pal Critic exchange changes and build cap.