This Honkai: Star Rail 4.7 Divergent Universe guide splits the fight by phase: how to control stacks in phase one, how to break the barrier, and how to survive phase two. Mechanics come from third-party guides; anything HoYoverse has not published as a number is not extrapolated.
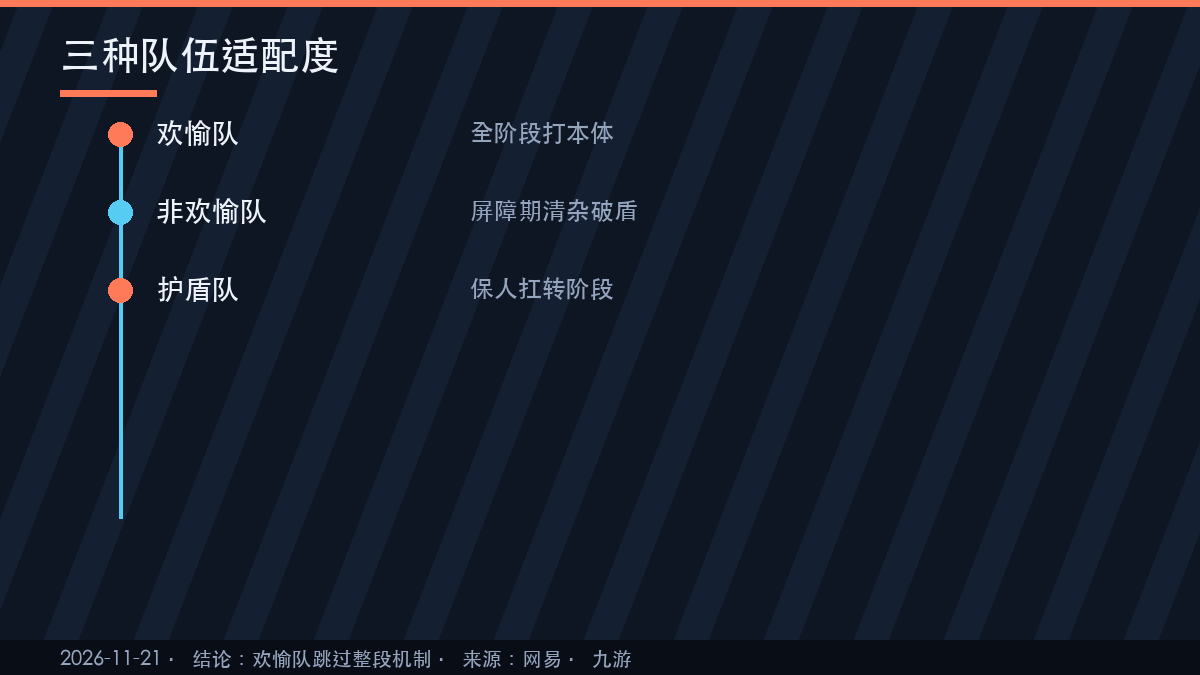
Team advice covers both an Elation setup and a non-Elation clear-and-break setup, so you can pick by roster rather than copying one list.
Applicable version: 4.7 "A Laugh for the Stars" (launched 2026-11-11)
Phase one mechanics in the HSR 4.7 Aporia fight
Half-hidden with countdown nodes
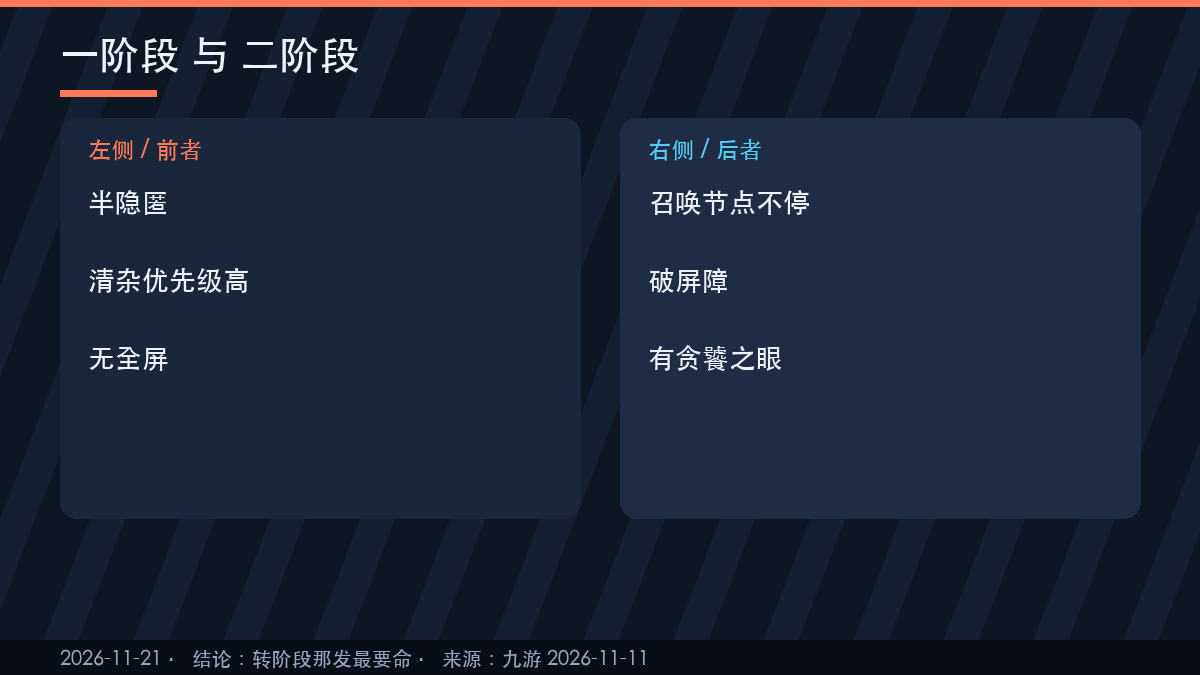
Aporia starts half-hidden, and summon nodes with countdowns keep appearing; when a countdown finishes, a minion spawns (source: NetEase Cloud Gaming, 2026-11-11). The goal in this window is not to race her HP bar, it is to stop minions from piling up.
Minions heal her
Minion attacks damage you, heal Aporia for a fixed percentage, and apply slow plus Divine Decay to whoever they hit (source: same). Healing means ignoring minions equals feeding her. Clear adds before you push damage.
Three stacks of Divine Decay transforms you
Each stack lowers defense and healing received. At three stacks the character is assimilated into a Beast Embryo: no skills, no ultimates, basic attacks only, treated as an ally by other enemies, and it takes two actions or a defeat to clear (source: 9game mechanics writeup, 2026-11-11). Prevent it by spending skills and ultimates to strip stacks before the third lands.
Breaking the barrier in HSR 4.7
Over 80% damage reduction
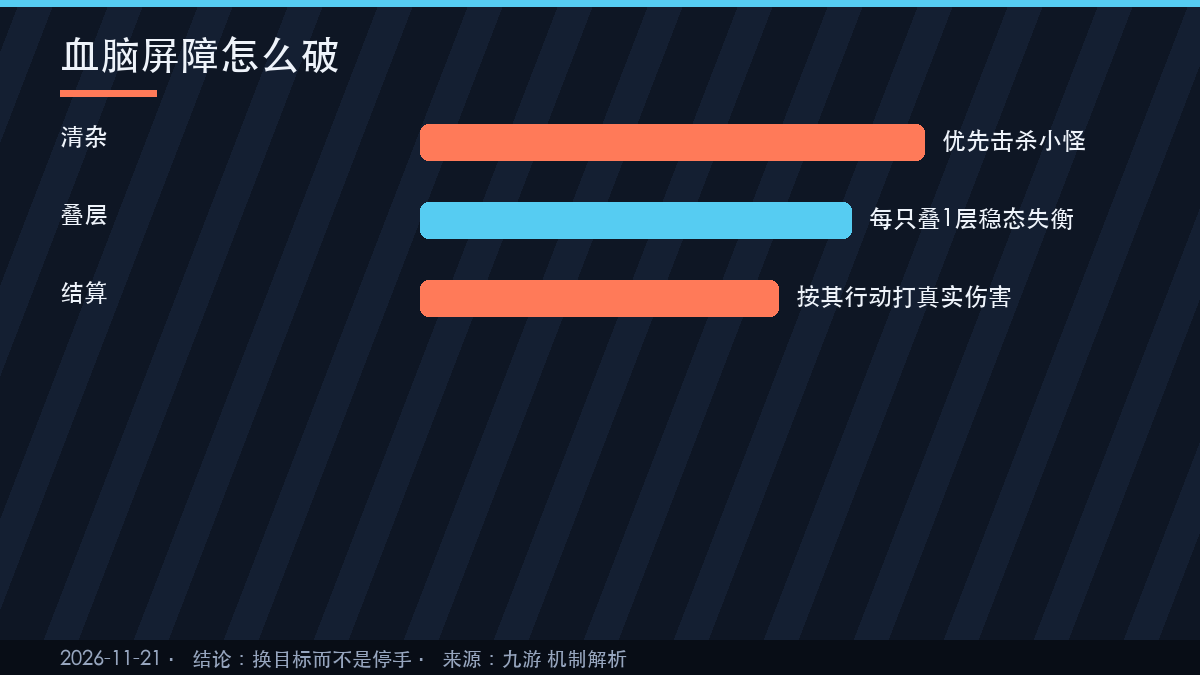
At roughly 70% HP Aporia forces Blood-Brain Barrier: over 80% non-Elation damage reduction, all enemies advance, and she targets the most recent non-Elation damage dealer (source: NetEase). That is why non-Elation carries feel like they are losing ground; your damage does not outpace her healing.
Kill minions to charge Steady State
The correct play is to switch targets. Each minion killed adds one charge to the Steady State unit on the action order, and when it acts it deals fixed true damage to the barrier proportional to charges (source: same). Minions during the barrier are ammunition, not interference.
Do not idle through the barrier
Waiting for the barrier to expire means minions pile up and Aporia keeps healing. Swapping targets is what moves the fight forward. I learned this the hard way by standing still on my first attempt and watching her heal back to full.
Phase two and the Glutton's Eye in HSR 4.7
The barrier break comes with a party-wide hit
When the barrier breaks Aporia enters phase two, fully revealed, and immediately inserts a high-priority party-wide attack that also cuts everyone's max HP; it can slot in between most action-forward effects (source: 9game). Shield before the break, not after.
Six stacks trigger a full-screen AoE
In phase two every basic attack applies Divine Decay, and each action adds a Glutton's Eye stack. At six stacks she fires a full-screen AoE whose damage scales with stacks, and she consumes minions to heal and buff her next attack (source: same). The plan is to limit her action count, not to out-damage the AoE.
Why Elation ignores the barrier
Elation damage ignores Blood-Brain Barrier's reduction and hits the body throughout (source: same). That is why Elation teams are recommended this cycle: not higher numbers, but a skipped mechanic.
What the barrier actually rewards
The barrier is a target-selection puzzle dressed as a damage check. A team with mediocre gear that clears minions on curve will break it in the intended window; a team with strong gear that keeps hitting the body will not. That is why two players with similar rosters report wildly different outcomes, and why the fix is usually discipline rather than investment. Watch the Steady State counter once and the pattern becomes obvious: every minion is worth a slice of the shield, and nothing else is.
Three team shapes for HSR 4.7 Aporia
Elation: hit the body all fight
With a built Elation team you run your normal rotation on Aporia and ignore the target-swap rule. 4.7 added Ahha, the playable Aeon (Elation, Quantum), which completes the archetype with existing Elation units (source: official 4.7 patch notice).
Non-Elation clear: break with Steady State
Without Elation, bring high-frequency AoE and spend the barrier window on minions. The ceiling is lower, but the entry cost is much lower too.
Shield and action control: survive first
If survival is the problem, stack shields and damage reduction and simply live through the phase transition. At six Glutton's Eye stacks, staying alive beats one more rotation.
Investment thresholds for HSR 4.7
Full mechanic notes and team comparisons for this cycle are archived in the GameHub Star Rail section.
Cycle budgeting
In a normal setup, phase one clear-and-chip takes about a third of your cycles, the barrier window is the second third, and phase two closes. Teams that run out of cycles usually mis-target during the barrier rather than lack damage.
Traces before relics
Max the carry's traces before chasing relic substats. This boss has thick HP pools, and trace bonuses are deterministic while substat rolls are not. The 4.7 Curio hunt event hands out a self-select relic item, which beats farming for one missing slot.
Reorder before re-gearing
When a team keeps failing, moving the healer one slot earlier often fixes it. That costs nothing. It is how I cleared this cycle: shield first, damage second, no gear changes.
HSR 4.7 Aporia FAQ
When does Blood-Brain Barrier trigger?
A: At roughly 70% HP. During it, non-Elation damage is reduced by more than 80%, enemies advance, and she targets non-Elation characters.
Can a non-Elation team clear it?
A: Yes. Switch to minions during the barrier; each kill adds a Steady State charge that converts into fixed true damage against the barrier.
What happens at three Divine Decay stacks?
A: The character is assimilated and can only basic attack until two actions pass or they are defeated. Skills and ultimates strip stacks before that.
How many stacks before the full-screen AoE?
A: Six. Each phase-two action adds one Glutton's Eye stack, so limit her action count.
Action list
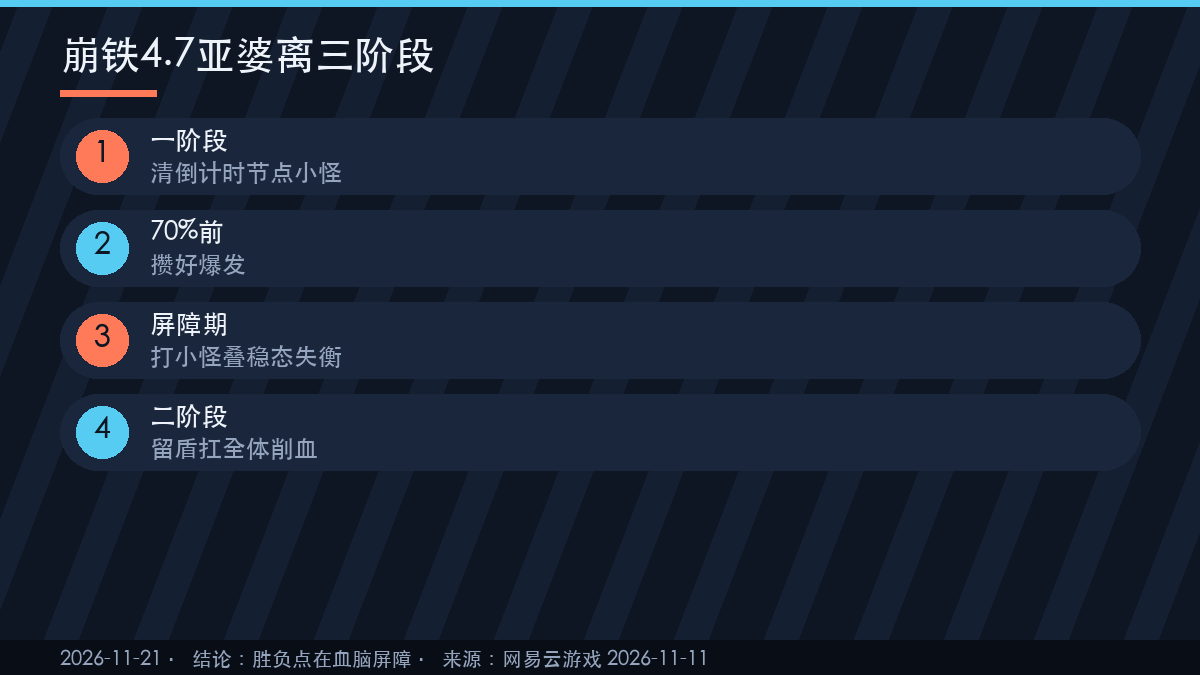
- Clear countdown minions first; they heal her.
- Strip Divine Decay at two stacks, never let it reach three.
- Hold burst until 70%, then immediately swap to minions.
- Shield the party before the barrier breaks.
- Count her actions in phase two and pre-load mitigation before six stacks.