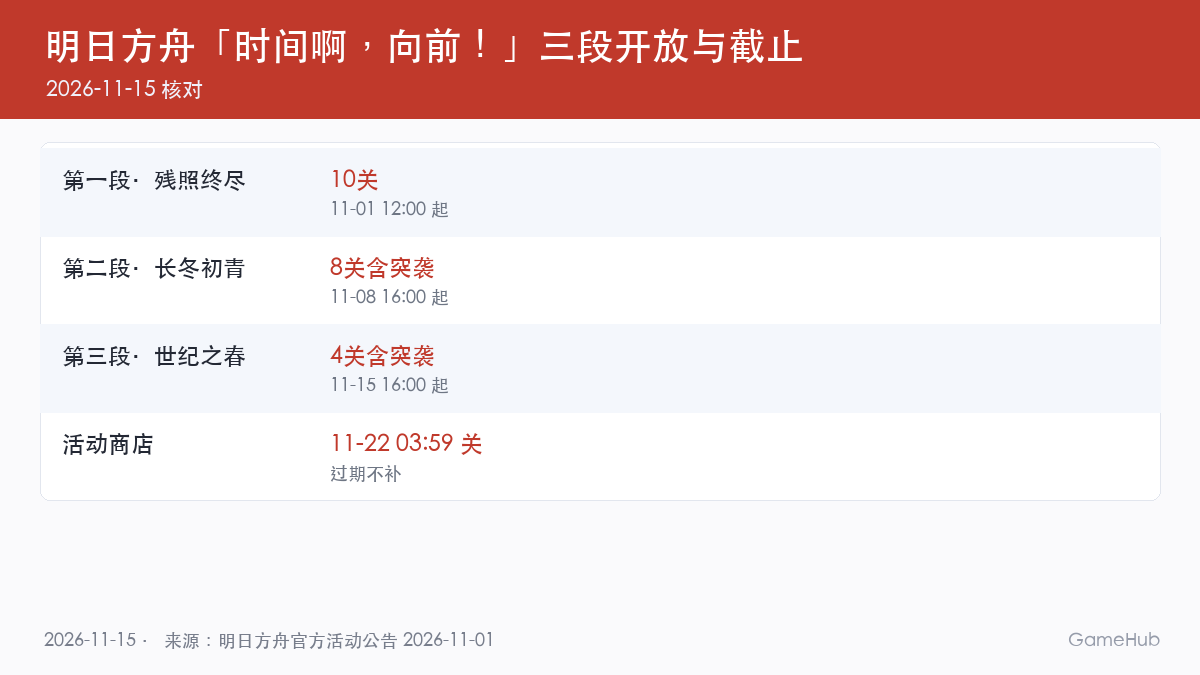
The catch is that Main Story 1-10 has to be cleared. If it isn’t, go push it first; you cannot even enter otherwise. The three parts are packed tight: noon on November 1, 4 p.m. on November 8, 4 p.m. today, and then all of them close together at 03:59 on November 22. So this piece is not a tier list. It covers three things: how to connect the trench, when the hatches will drop your ranged tiles into a pit, and how late you should hold your self-destruct grenades. The hatch coordinates are laid out tile by tile on BWiki — every single one of them. But who has the patience to read the whole table? And this is precisely the part of the event where following that table matters most: miss one tile and your Operator goes straight down. We post schedule and mechanic updates as we go in the Arknights beginner guide section at gghubs.com.
So What Exactly Is This Part That Opened at Four?
It is the smallest piece of the whole event. Four stages with Challenge Mode, live at 16:00 today, closing the same day as the parts on either side of it. Part One spent ten stages laying down story, Part Two spent eight stages testing new mechanics, and Part Three mostly re-tests everything the first two taught you — then it is over.
Lining the three parts up makes this clearer. Part One, “The Last Afterglow,” opened at 12:00 on November 1 with ten story stages plus four cutscene stages and one tutorial stage. Part Two, “Green Shoots in Long Winter,” opened at 16:00 on November 8 with eight stages including Challenge Mode. Part Three, “Spring of the Century,” opened at 16:00 on November 15 with four stages including Challenge Mode. The mechanics are the same set across all three, so you can enter Part Three without finishing Part Two — you will simply be short a batch of first-clear rewards, which does not stop you from playing.
The reason to clear this part first is plain convenience. Walk the trench route once across four stages and the rest is repetition; do the same across Part Two’s eight stages and repositioning alone will cost you an entire evening. There is no grace period either — it closes at 03:59 on November 22 along with the other two parts, so if you only remember on the last day, all you can do is watch it shut.
An Unconnected Trench Gives You Nothing
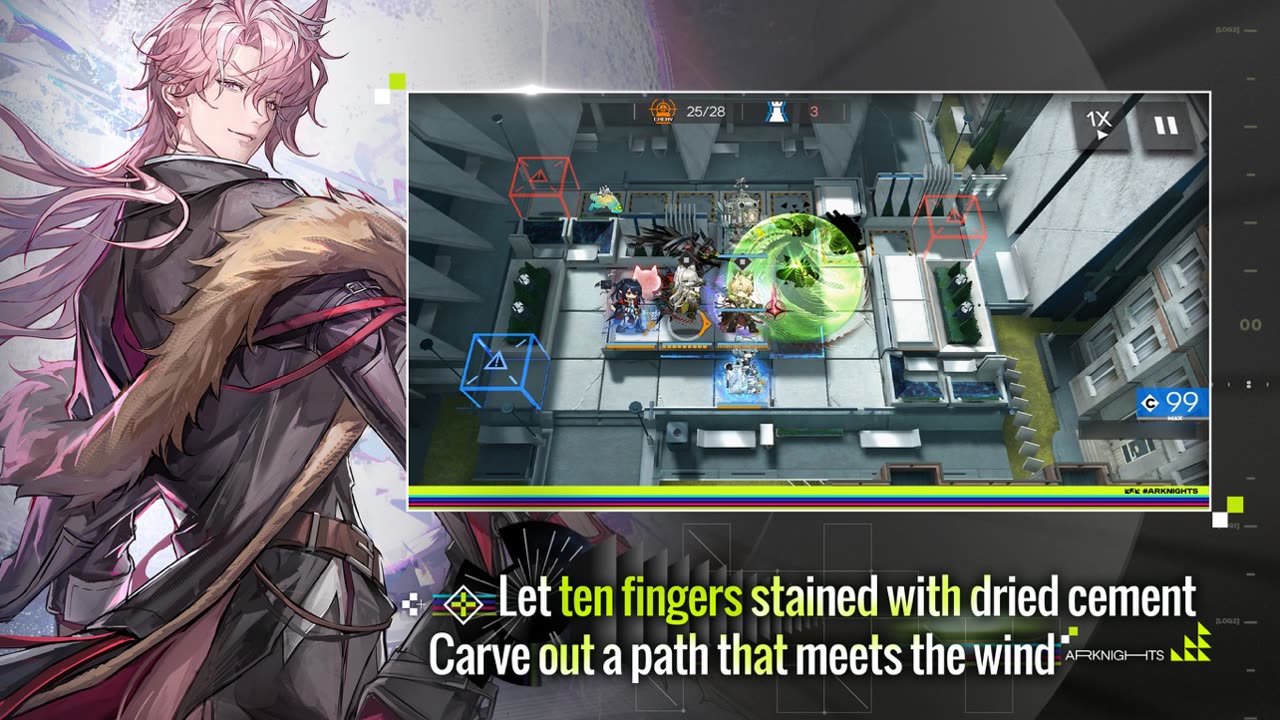
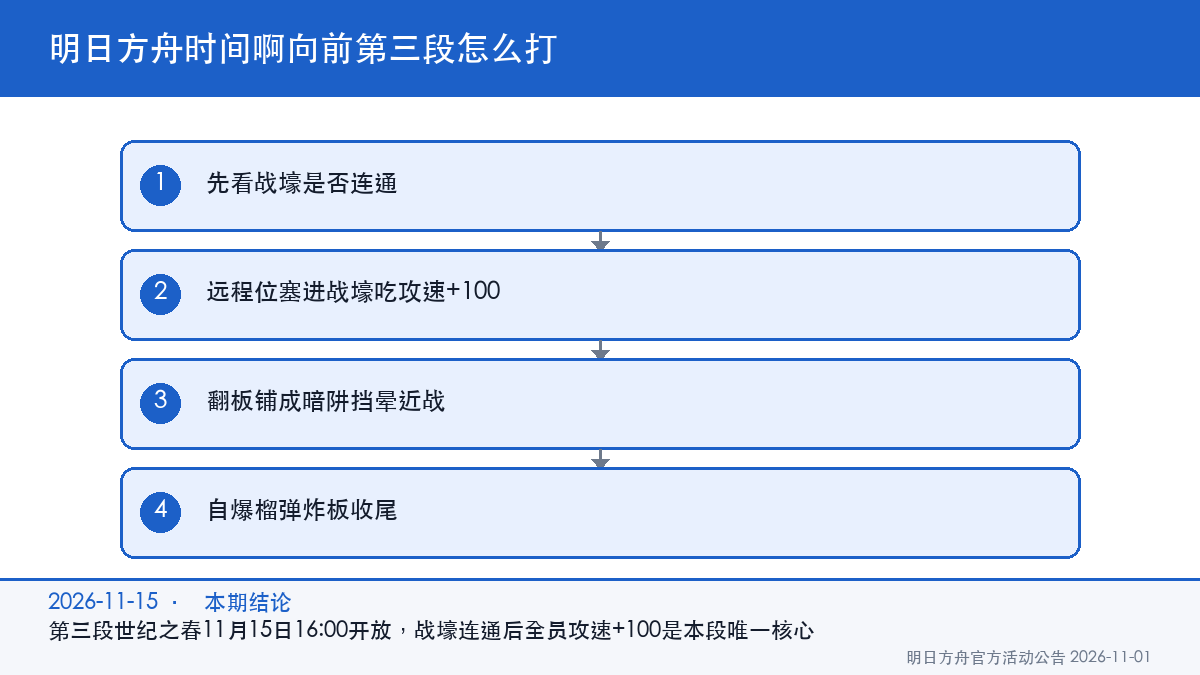
The trench itself is not that mysterious. Ranged Operators can be deployed on it, they take less punishment while standing there, and enemies on the move will route around the trench as long as another path is available; if they do get funnelled in, they are stunned for a while. There is only one rule to remember: the trench has to run continuously from the infiltration point to the objective. Stand on a connected stretch and your units get +100 ASPD.
What is judged is whether that entire span, from infiltration point to objective, is connected — not whether the tile under your feet happens to have a ditch in it. So do not rush to set down damage dealers at the start. Find the line you can actually dig through first, then put people in it. Get the order backwards and you will be tearing everything down and rebuilding, which is thoroughly annoying.
Nor should you assume any random ditch will do. The buff is bound to “connected”: let a hatch cut the line in the middle, or simply route around the main path, and the ASPD is gone instantly. The clearest way to picture it is a wire that has to carry current — break one link and the whole run is dead.
Ranged Tiles Fall Into Hidden Pits — Three Seconds Is a Whole Wave
A trench with a hatch over it is a hidden pit. Put a ranged Operator on it and they drop straight into the ditch, stunned for 3 seconds. Three seconds is not short in Arknights — it is enough for a wave to walk straight through the middle of your defence. The most infuriating part is that the Operator who fell can neither attack nor be retreated while stunned. You just watch.
One stage has a fixed set of hatch tiles. There are thirteen of them:
(2,4) (2,5) (2,6) (3,4) (3,5) (3,6) (4,3) (4,4) (4,5) (4,6) (5,7) (5,8) (5,9), facing up. That stage gives you 3 self-destruct grenades. Thirteen tiles sounds intimidating, but it is really just two bands laid out along the centre line; remember “keep ranged units off the middle two rows” and you dodge most of the problem.
Enemies walking the trench get stunned, and ranged units that drop in get stunned as well, so both ends drag the tempo at the same time — lose control and you leak. To be safe, hold your first batch of ranged tiles back in the last two rows, and only move forward once a grenade has blown a stretch of hatches open.

Three Grenades or Five? That Decides Whether You Can Take the Front Row
A self-destruct grenade sits for a moment after you throw it, then detonates: every hatch in range is destroyed and both sides are stunned. The three published stage intel sheets give 3, 3 and 5 respectively. Those two extra grenades are exactly what decides how many waves early you can open the front row.
On the two stages that give only 3, never throw one at the start. The first wave is usually small, so letting your Operators tank it is the better trade; save the grenade for the dense second wave, where one throw can crack open two ranged positions at once.
The stage that gives 5 is far more forgiving: blast a patch at the start, push your ranged tiles straight forward, and use the ASPD buff to race the first wave. Note, though, that some skills and talents of the “Stone-Hauler” enemy were changed for this stage — do not judge how hard it is to kill by old habits.
One more detail that is easy to miss: once the Wartime Press Committee’s newspaper sales reach a set figure, the deployment cost of self-destruct grenades drops. Sales are ground out little by little through event missions, so clear the missions before you take on the hard stages and you will save a noticeable chunk of cost.
No Full Squad? Split It Into Three Jobs
Take the four stages apart and there are only three jobs. You genuinely do not need one fully built team to cover all of it.
The trench tile goes to your fastest-attacking ranged unit — a single-target Sniper or a Caster, whichever gets more out of attack speed. Its job is to turn that +100 into real damage. The exit gets a high-armour Defender, whose only task is to plug the gap so nothing slips past; a healing Defender holds it just as well. Whatever leaks through is cleaned up by an AoE Caster or a Guard. Who exactly you bring depends on your roster — the deeper it is, the stronger you can go.
(This lineup is built around the mechanics; it is not an official recommendation, and in-game Operator stats take precedence.)
The low-investment maths is easy: pour all your resources into that one ranged unit in the trench. Once it is soaking the full +100, its damage per second steps up a tier. Fill the other slots with the cheapest Defenders to block, toss in a Medic for healing, and do not chase damage anywhere else.
If your roster is deep and you simply want to save time, copy the opening blast from the five-grenade stage outright and shove your ranged tiles into the front row to race the damage. The price is that grenades burn fast, and you will need the Committee discount to earn that back.
In the Shop, Buy What You Cannot Farm First
The shop closes with the stages, also at 03:59 on November 22. Tokens do not carry over between parts, so holding on to them is the same as voiding them.
Order of priority: Orundum and Headhunting Permits first, elite promotion materials second, furniture last. There is one reason, and it is simply whether you can still get the item reliably somewhere else after November 22. Materials can be farmed. Permits cannot.
Sanity costs follow whatever the stage screen shows in game; the announcement does not list them stage by stage. In practice, feed your daily natural Sanity into first clears you have not done yet — first-clear rewards only pay out once — and leave the repeat farming until the event is over.
Arknights: Time Moves Forward — FAQ
What time does Part Three open today?
A: 16:00 on November 15. It closes at 03:59 on November 22 together with Parts One and Two, with no extra grace period, and this part has only four stages.
Who is the best pick for the trench?
A: Your ranged damage dealer with the highest attack-speed payoff. Inside a connected stretch ASPD is +100, which nearly doubles damage per second; putting a Medic there wastes an entire multiplier.
Can you get more self-destruct grenades?
A: The count is fixed per stage — 3, 3 and 5 according to public intel. Reaching the Wartime Press Committee’s cumulative newspaper sales only lowers deployment cost; it does not add grenades.
Can I take part without clearing Main Story 1-10?
A: No. The event requires Main Story 1-10 cleared. New accounts should push the story first — finishing before 03:59 on November 22 is still in time.
Action Checklist
- Log in at 16:00 today and knock out first clears on all four Part Three stages, Challenge Mode first.
- At the start of each stage, scout the enemy’s main route, lay the trench along it, and only then place ranged tiles.
- Remember the middle two rows of the thirteen hatch tiles, and keep your first row of ranged tiles in the last two rows.
- On stages with 3 grenades, hold them for the second wave; on the 5-grenade stage, you can blast the front row at the start.
- Before 03:59 on November 22, spend your tokens on Orundum and Headhunting Permits.