
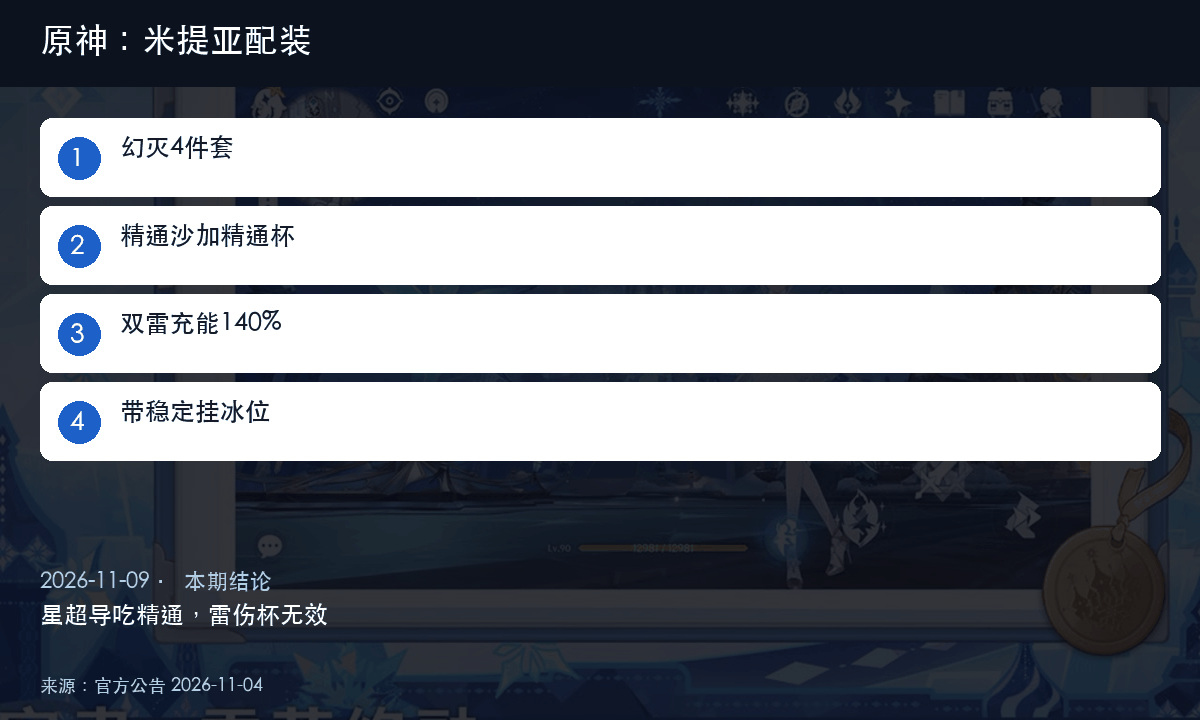
Mitia is the new 5-star Electro catalyst in the first half of 7.2, and he is built entirely around Astral Superconduct: the Superconduct reaction he triggers converts into Astral Superconduct, which hands the whole team a flat 14% boost to base damage. Here's the verdict up front: Artifacts should be 4-piece Annihilation, with Elemental Mastery on both the sands and the goblet; the circlet depends on your weapon. Push Energy Recharge past 140% on a dual-Electro team, and make sure somebody in the lineup can apply Cryo reliably — lose that slot and the whole archetype collapses.
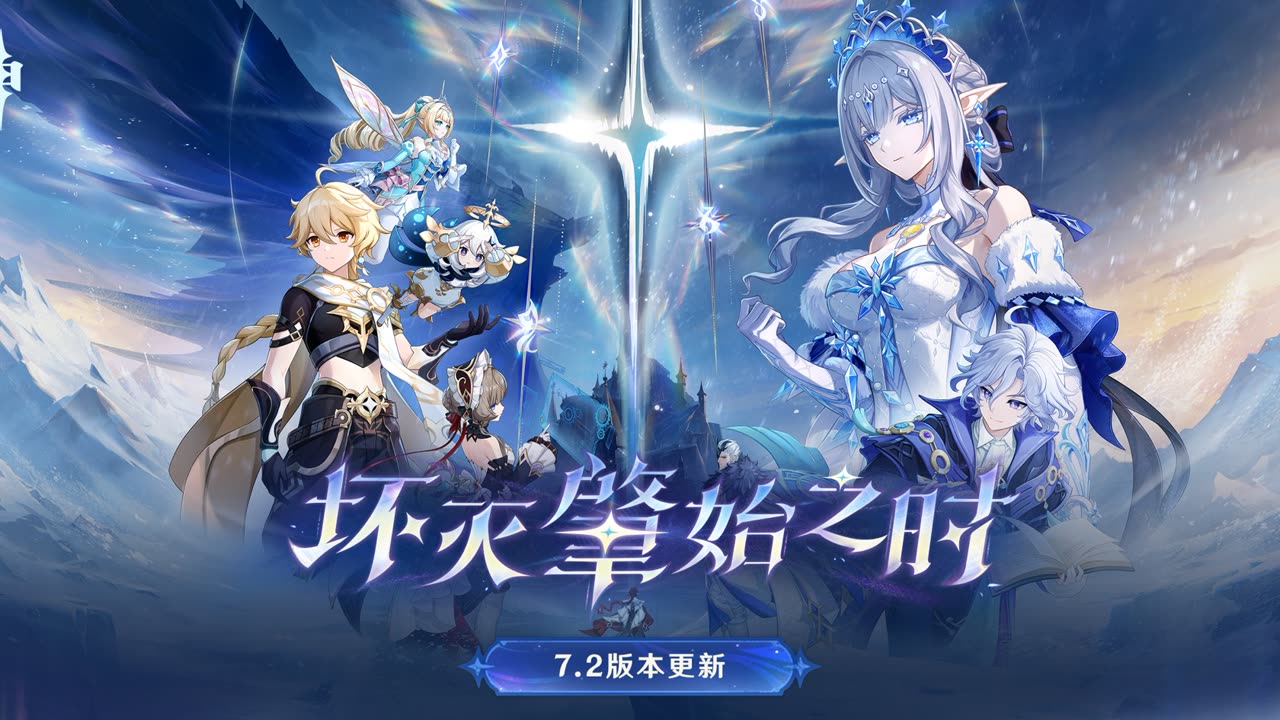
Genshin Impact 7.2 at a Glance: Mitia and the Second-Half Banners
7.2 went live on November 4, 2026. The first-half banners are Mitia and Furina, with Valery in the 4-star slot; the second half shifts to Zibai and Linaia. Mitia is from Snezhnaya, wields an Electro catalyst, and the official role is clear: he is the damage dealer of the Astral Superconduct system, and he holds up both on-field and off-field. The difference between Astral Superconduct and ordinary Superconduct takes one sentence. Normal Superconduct is Cryo meeting Electro to shred Physical RES; Astral Superconduct is the 7.2 variant — with Mitia on the team, the Superconduct you trigger turns into Astral Superconduct automatically and adds another 14% base damage for the whole team. That 14% is shared by everyone, not eaten by him alone, so this is fundamentally a reaction team rather than one character brute-forcing the damage.
He has two playstyles. Tapping the Skill drops a core that chases the enemy and detonates Astral Superconduct at intervals while feeding the team Elemental Mastery — that's the off-field sub-DPS route. Holding the Skill creates an Overloaded Core, which opens up his special Charged Attack, Transmutation Detonation, and only then does he become an on-field main DPS. Both routes draw on the same resource, Transmutation Beacons, and his Burst hands out 3 at a time, so the rotation basically revolves around beacon upkeep.
Genshin Impact 7.2 Mitia Artifacts: Why 4-Piece Annihilation
For damage, 4-piece Annihilation is the first pick, and the selling point is that it covers both the on-field and off-field playstyles, so you never need a second set when you change roles. 4-piece Gilded Dreams is very close whenever its trigger is reliable, but uptime falls off against enemies that keep an Electro aura on themselves for long stretches, and the damage you lose is real. EM 2+2 is the least fussy stopgap on the same substats — wear it while your pieces are still rough instead of holding the build hostage for a perfect set.
Elemental Mastery on both the sands and the goblet, for a simple reason: Astral Superconduct Electro damage is scaled by the EM multiplier and the reaction damage bonus at the same time, so a single EM substat gets counted twice, while ATK% only enters one of them — you're a step behind from the start. The circlet follows your weapon: EM circlet with a crit weapon, CRIT circlet with an EM weapon. Doing it the other way round is patching a strength with a weakness.
On Energy Recharge: 140%+ for a dual-Electro team, around 120% for triple Electro. Once C1 is unlocked, triple Electro needs nothing extra and dual Electro only needs 120%. Talent 3 wants 500 Elemental Mastery to cap out, so EM substats never stop mattering, while ER only needs to reach the point where you can Burst every rotation — any more adds no damage and simply burns substats.

Genshin Impact 7.2 Mitia Weapons: Signature and Two Substitutes
The signature, Secret Star Codex, gives CRIT DMG, Elemental Mastery and Astral Superconduct DMG bonus: at R1 it already brings 142.8% CRIT DMG for Astral Superconduct Electro damage and 120 Elemental Mastery at full stacks. Precisely because the CRIT DMG is so generous, stacking more of it dilutes badly, which is why an EM circlet is actually the recommended pick when you run the signature — it fills in the gap you're missing.
Without the signature, Trueword Casket is next in line: CRIT DMG, CRIT Rate and EM, solid base stats, and usable the moment you slot it in. Lost Prayer to the Sacred Winds supplies CRIT Rate, which suits a CRIT DMG circlet; Loom of Skylight gives 200 Elemental Mastery and 45.9% Energy Recharge, so you barely have to worry about ER substats — the smoothest option for free-to-play players. The one to avoid is Kagura's Verity. It looks like the same role, but Mitia's ATK scaling is so poor that the 608 base ATK goes to waste, and he typically casts his Skill once per rotation, leaving it at a single stack. Only reach for it if you truly have nothing else — don't pull the banner for it.
Genshin Impact 7.2 Mitia Teams: Three Setups from Maxed to Budget
The maxed setup is Mitia with Sucrose, Odetta and Valery. Sucrose runs Viridescent Venerer to swirl Electro and hand out EM along the way, Odetta supplies steady Cryo application plus Astral Superconduct DMG bonus, and Valery brings shields, buffs and particles — the four jobs are cleanly split and nobody competes for the same slot.
Without Odetta, Qiqi covers the Cryo slot. Her application is a tier slower, but it's consistent and she heals — Mitia has no interruption resistance of his own, so Qiqi's healing buys a lot of forgiveness. The Electro slot can go to Yae Miko, who adds Electro damage and helps prop up his Burst rotation; the team loses a tier of raw power, but the mechanics stay complete.
Valery is genuinely central to this lineup: a 4-star Electro sword user whose tapped Skill grants a shield, whose special Charged Attack stacks a buff that raises the on-field character's Electro DMG — amplified a little further in an Astral Superconduct team — and whose Burst provides continuous Electro application. He costs no 5-star budget, yet he is the foundation of the entire comp; lose either the shield or the Electro buff and the whole experience drops.
Is Genshin Impact 7.2's Mitia Worth Pulling?
Worth pulling? Verdict first: if you're missing an Astral Superconduct main DPS, or missing a usable off-field Electro, he justifies 1-2 five-star investments. If you already have a finished Electro team and just want a little more power, skip him outright. C0 is competent but unremarkable, C2 is the real breakpoint, and C6 lifts his on-field ceiling noticeably — on a tight budget, stop at C0 or C1 instead of forcing it.
It comes down to three account types. If you have no star-reaction main DPS at all, pull — you've effectively never played this archetype. If you have Odetta but no main DPS, pull as well, because he's exactly the on-field Electro slot you're short of. If you already own Yae Miko and your Electro team is complete, chase constellations instead of pulling a duplicate role that will just sit in the archive.
He shares the first-half banners with Furina, and the two fill entirely unrelated roles. Furina is a universal damage buffer with much wider usability; Mitia is a system core who needs the right teammates before his damage shows up. If you can only afford one, ask yourself whether your roster is missing a support or a core — don't tap the banner just because the two share a phase.
Genshin Impact 7.2 Events and the Free 4-Star Pick
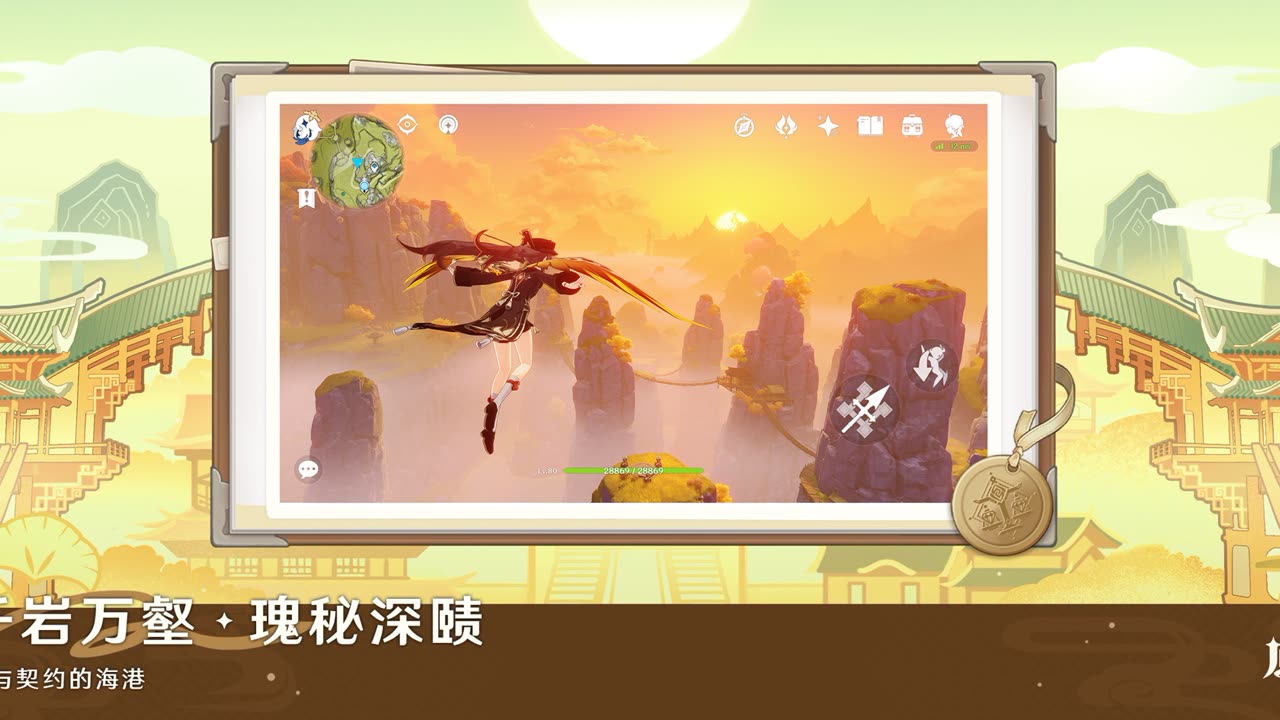
The Total-Domain Guard: Retort of Erroneous Punishment event lets you choose one 4-star character from Amber, Xiangling, Thoma, Collei, Lynette, Kachina, Aino and Arosha. Take whoever you're missing — Xiangling and Collei are the most practical picks for newer players.
The 4-star pick is event-exclusive and vanishes once the event closes. If you're building an Astral Superconduct team and still lack Arosha, this is your nearest opportunity; after that you're waiting on a rerun. If nobody's missing, pick whichever character still has a locked archive entry and don't waste it.
Genshin Impact 7.2 Mitia FAQ
Does Mitia Have to Stack Elemental Mastery?
A: Yes. Astral Superconduct Electro damage scales off EM, Talent 3 also wants 500 EM to cap out, and both sands and goblet take Elemental Mastery.
How Much Energy Recharge Does a Dual-Electro Team Need?
A: 140%+. Triple Electro runs around 120%, and after C1 a dual-Electro team only needs 120%.
Can I Use an Electro DMG Goblet?
A: Not recommended, and it won't raise the Astral Superconduct portion at all. Setups that only add ordinary Electro DMG, like 4-piece Wanderer's Troupe or an Electro DMG goblet, do nothing for him.
Which Constellation Level Is Best for Mitia?
A: C2 is the breakpoint, and C6 raises the on-field ceiling considerably. On a limited budget, stop at C0 or C1 — don't force it.
Can I Play Him Without Odetta?
A: Yes. Qiqi covers the Cryo slot and Yae Miko covers Electro; the team drops a tier in power but the mechanics are complete.
Action Checklist
- Run 4-piece Annihilation, Elemental Mastery on sands and goblet, and a circlet chosen by your weapon.
- Push Energy Recharge to 140% on dual-Electro and 120% on triple Electro; stop as soon as you can Burst on cooldown.
- The team must include a reliable Cryo applier — use Qiqi if you don't have Odetta.
- Build Valery in the 4-star slot; his shield and Electro buff are the foundation of this comp.
- When you can only afford one character, patch the hole in your roster first — don't pull just because the banners are paired.
You'll find the complete stat tables for builds and team comps in the GameHub Guides Genshin section, and we'll keep it updated as 7.2 changes roll in.