Genshin Impact 7.0 Spiral Abyss Phase 2 Guide: Floor 12 Teams
The modifiers flipped direction completely from phase one. The August 16 phase rewarded Superconduct and Star Superconduct, while the September 16 phase pushes Anemo Swirl and Electro-Charged to the front. Put simply, the Ice direct-damage team you built for the previous cycle is no longer the efficient answer, and teams with Anemo resistance shred plus frequent Electro application have a much easier time. This guide walks through modifier selection, the Abyssal Moon blessing, enemy handling and team building.
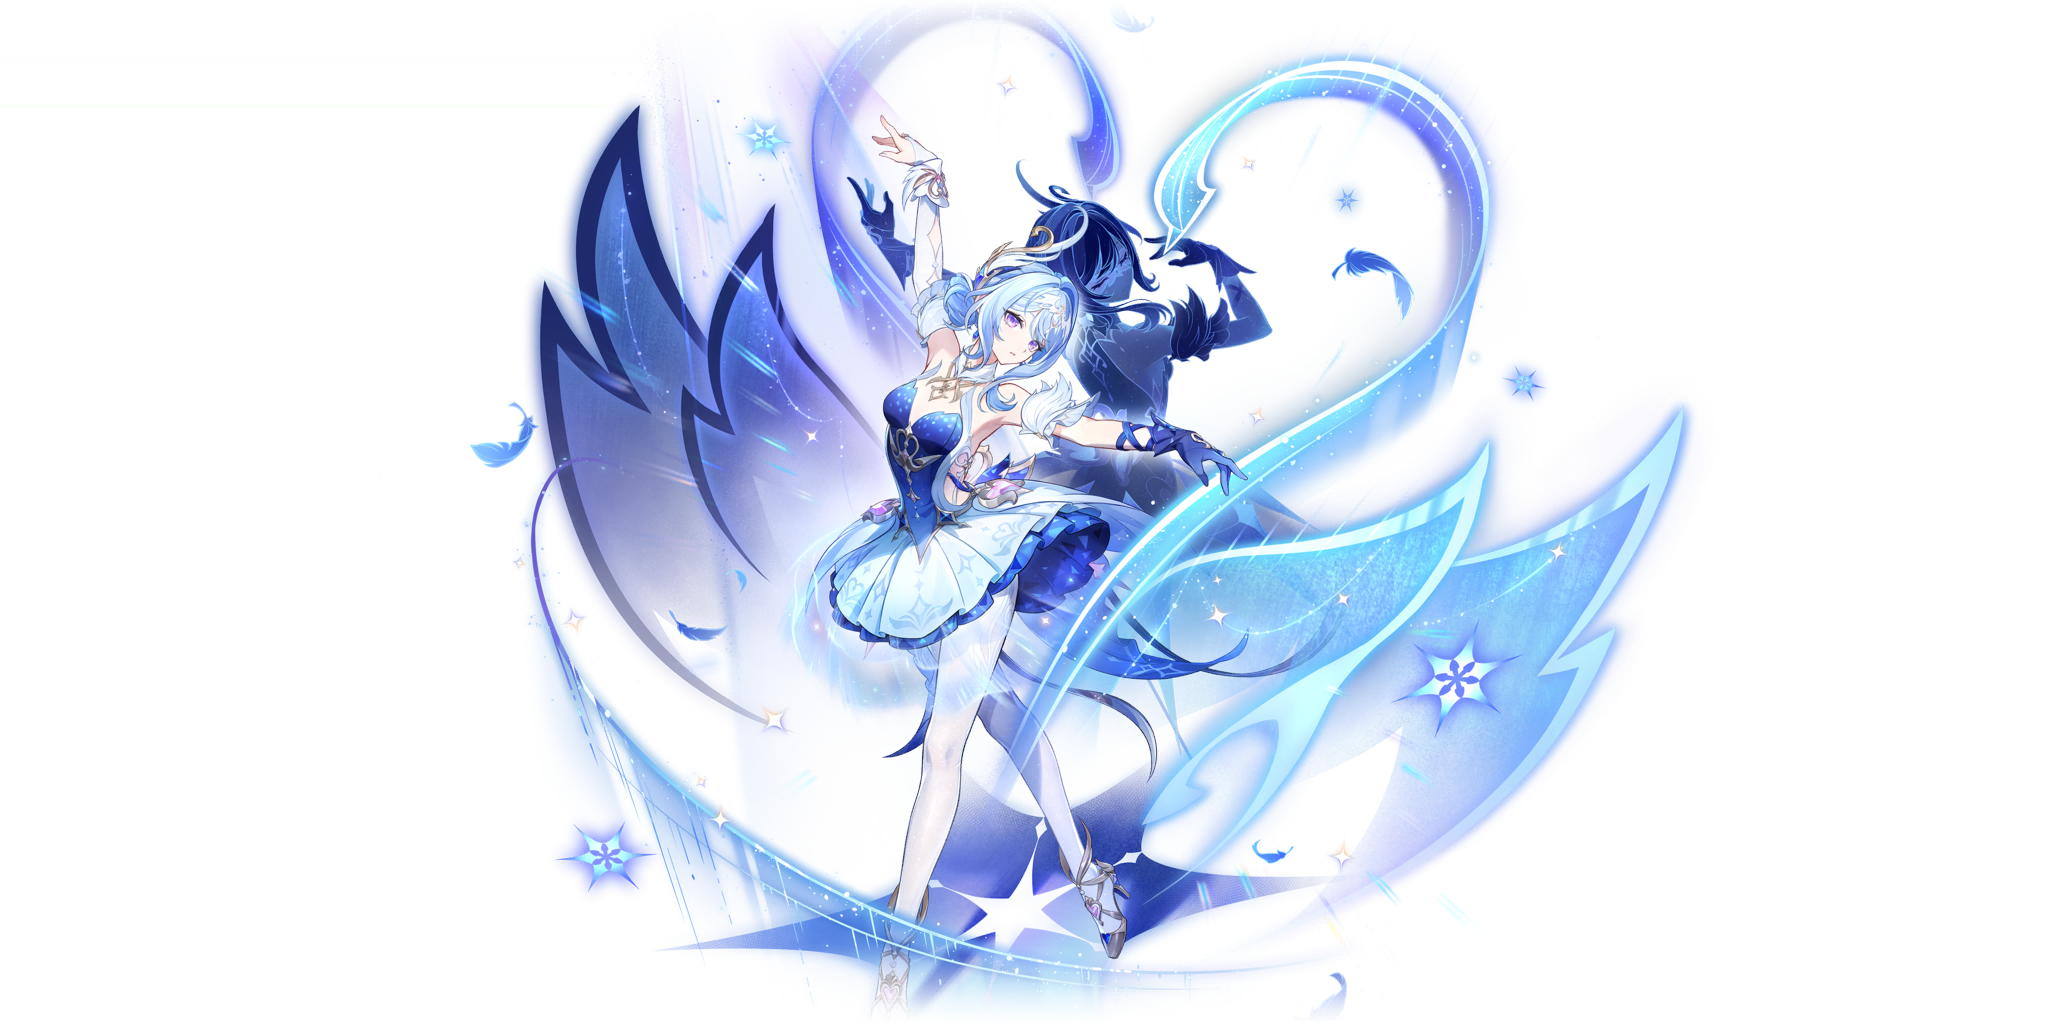
Genshin Impact 7.0 phase 2 overview: what changed on September 16
Version 7.0 launched on 12 August 2026 and opened five new Snezhnaya areas (source: bwiki 7.0 version update hub). The patch schedules two Spiral Abyss phases: the first on August 16 and the second on September 16.
Modifiers across both phases
Phase one gave Floor 9 Star Swirl damage +50%, Floor 10 Star Superconduct +50% and Floor 11 60% Cryo plus 60% Pyro damage bonus, with Floor 12 at Superconduct +200% and Star Superconduct +75% on the first half and Normal Attack Pyro damage +75% on the second. Phase two switches Floor 11 to 60% Anemo plus 60% Electro, and Floor 12 to Swirl +200% and Star Swirl +75% on the first half, with Electro-Charged +200% and Lunar Electro-Charged +75% on the second . The lesson is straightforward: phase one was Cryo, Pyro and the new reactions; phase two is back to Anemo, Electro and grouping efficiency.
Rewards and artifact substitution
From 7.0's first Abyss phase onward, the Deep Secret reliquaries from Floors 9 to 12 no longer contain Disenchantment in Deep Shadow and Celestial Gift, having been replaced by Scarlet Proof and Heart of the Furnace (source: bwiki 7.0 version update hub). That makes the Abyss itself a source of the new sets, and opening those boxes after a Floor 12 clear is cheaper than farming domains.
Genshin Impact phase 2 Abyssal Moon: how Huijuan's Moon works
The phase two blessing is 辉卷之月: when a character deals Swirl or Star Swirl reaction damage to an enemy, a shockwave is released at the enemy's position dealing True Damage, triggerable once every 4 seconds .
Trigger conditions and the four-second window
The blessing only recognises Swirl and Star Swirl, not Electro-Charged. Even if your second-half team is an Electro-Charged setup, the blessing adds no True Damage there. To benefit, you need an Anemo character who can trigger Swirl reliably, or a character such as the Cryo Traveler or Odette who can trigger Star Swirl.
Compared with phase one
Phase one's Luster-Piercing Moon required the on-field character to be standing inside the polar radiance field to trigger it, so the constraint was positioning. Phase two switched the requirement to a specific reaction type, so the constraint moved from positioning to team composition . Quick test: can your team produce one Swirl every 4 seconds? If yes you get full value, if not treat the blessing as absent.
Genshin Impact 7.0 Snezhnaya characters: the Star Swirl core
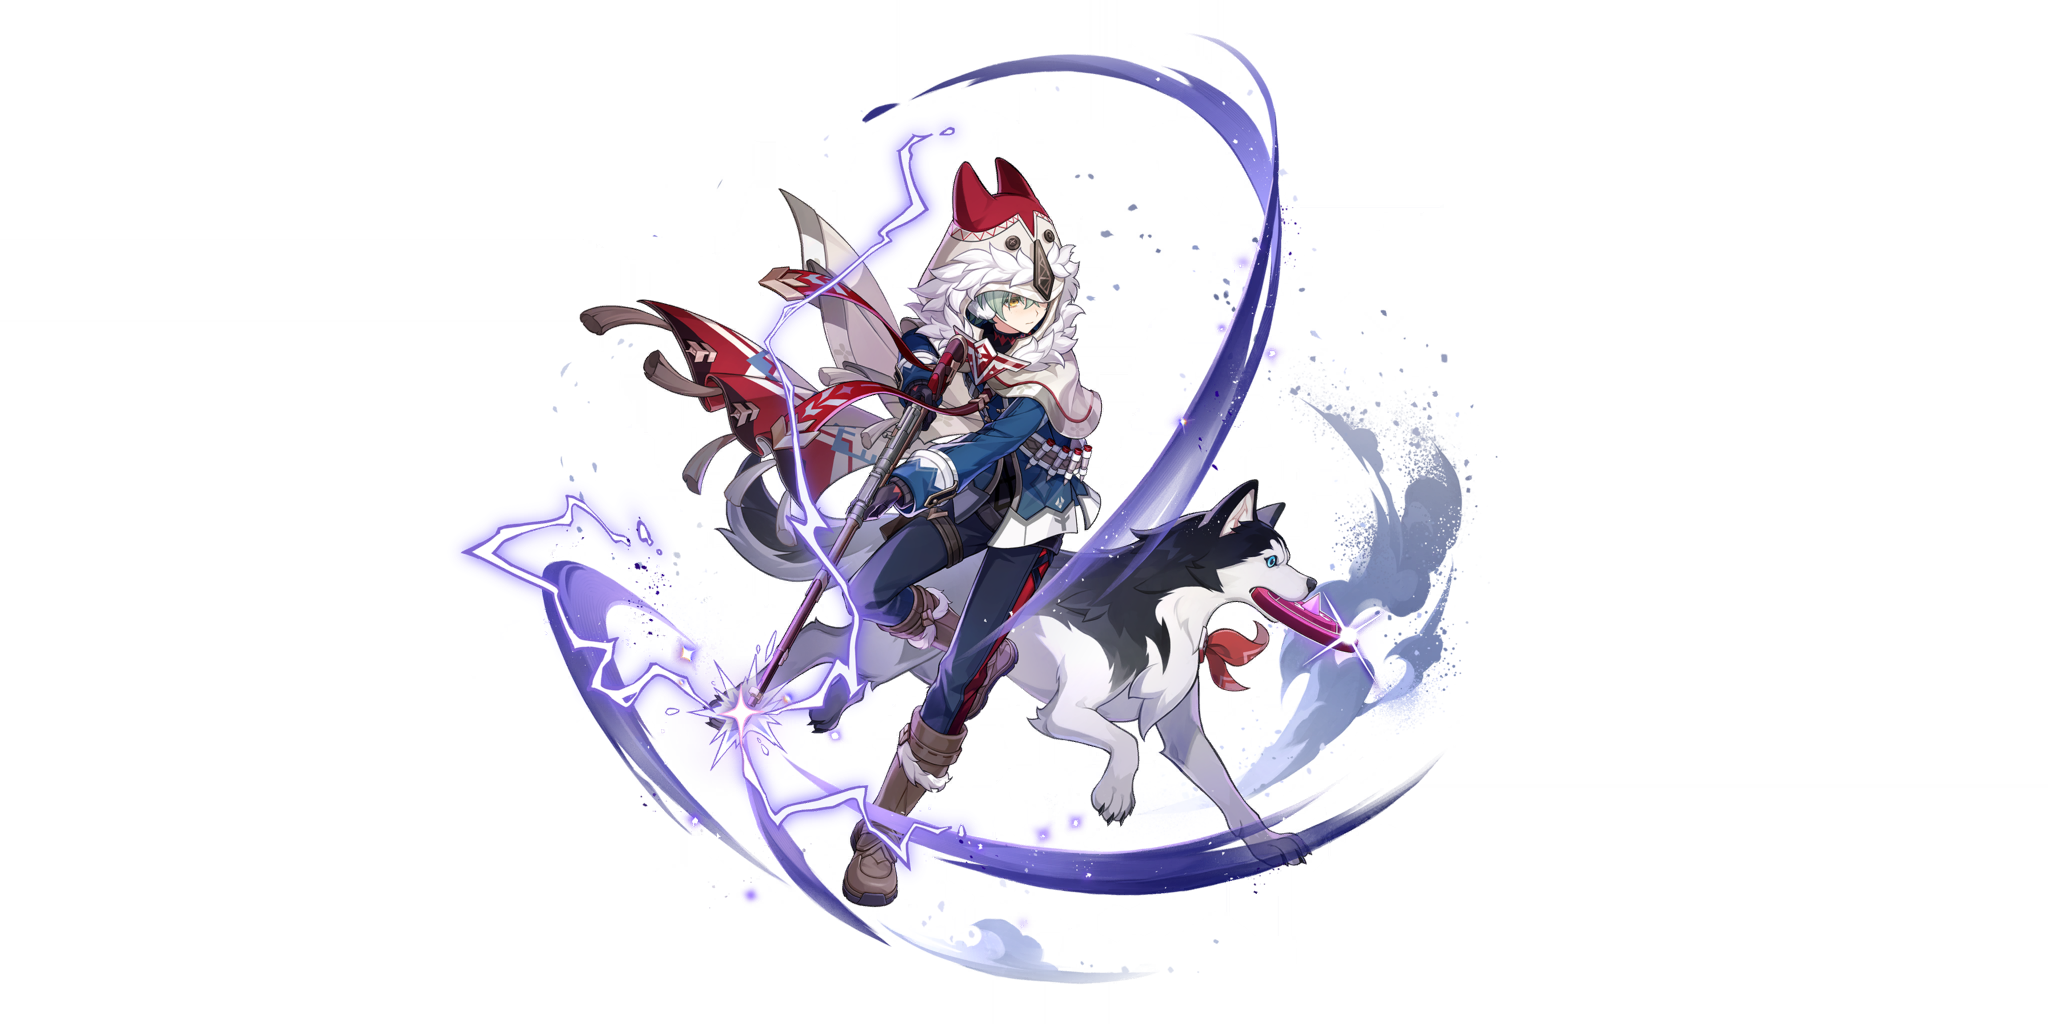
Version 7.0 added three characters: Odette, a 5-star Cryo sword user; the Cryo Traveler; and Arrochia, a 4-star Electro polearm user .
Odette and the Cryo Traveler
Odette enables Star Superconduct and Star Swirl reactions for the team and deals Star Spark reaction damage off-field over time, granting continuous Cryo application and a Star Spark damage bonus; the Cryo Traveler enables Star Spark reactions and has off-field and quickswap damage, with on-field output in the polar radiance Star Superconduct state (source: bwiki 7.0 version update hub). Both benefit directly from this patch's Star Swirl setups, but note that Floor 12's first half only buffs Swirl damage, not Cryo direct damage.
Arrochia's healing and Electro application
Arrochia is a 4-star Electro polearm user who heals teammates and deals continuous Electro damage . In a Floor 12 second half built around Electro-Charged and Lunar Electro-Charged, her Electro application pairs with a Hydro character to trigger the reaction while covering the healer slot.
Genshin Impact phase 2 team building: Swirl and Electro-Charged
The two modifiers split Floor 12 into two entirely different routes, so halves have to be planned separately.
| Route | Reaction core | Team shape | Modifier it uses |
|---|---|---|---|
| First half Swirl | Anemo Swirl plus Cryo or Hydro application | Anemo shredding DPS, off-field applier, survivability | Swirl +200%, Star Swirl +75% |
| Second half Electro-Charged | Electro-Charged or Lunar Electro-Charged | Electro applier, Hydro character, buffer | Electro-Charged +200%, Lunar Electro-Charged +75% |
| Star Swirl fallback | Star Swirl | Cryo Traveler or Odette plus an Anemo character | Only Star Swirl +75% on the first half |
Why the first half favours Anemo
Every bonus on the Floor 12 first half lands on Swirl and Star Swirl, so Anemo Swirl is the only mechanic that captures both. Community full-star threads describe players swapping carries outright when the environment changes, using the Cryo Traveler in the Star Superconduct cycle and switching to a dedicated Anemo carry once Star Swirl arrived (source: Bahamut Genshin forum September Spiral Abyss full-star thread, September 2026). Swapping carries beats forcing one team through both phases.
The second half is cheaper with Electro-Charged
The second half rewards Electro-Charged and Lunar Electro-Charged, where Electro plus Hydro clears far lower build investment than a signature-weapon direct-damage team. Arrochia supplies Electro application and healing, and a Hydro off-fielder plus one buffer completes the loop.
Genshin Impact phase 2 practice and common mistakes
This cycle's main bosses include the three Snezhnaya enemies, the Colonel and the Lamplighter , so target priority and spacing matter more than raw sheet damage.
Target priority
Clear anything that applies damage over time or summons adds before hitting the main body. The same thread repeatedly mentions that the snowball hits extremely hard, to the point of killing a character through a shield, so dodge out of range of Snezhnaya ranged attacks instead of trading hits.
Common mistakes
- Reusing the phase one Cryo and Pyro direct-damage team, which captures none of the reaction bonuses.
- Running an all-Anemo second half, where Electro-Charged bonuses never apply.
- Expecting 辉卷之月 to add True Damage to the second half, since it only recognises Swirl and Star Swirl.
- Forgetting that the Floors 9–12 Domain Reliquary: Tier I and Tier II boxes now yield Scarlet Proof and Heart of the Furnace instead of the old sets.
Genshin Impact phase 2 priority table
| Priority | Item | Why |
|---|---|---|
| High | One invested Anemo carry | The first half stacks Swirl and Star Swirl bonuses |
| High | Electro applier plus Hydro off-fielder | Cheapest way to cover Electro-Charged and Lunar Electro-Charged on the second half |
| Medium | Arrochia | A 4-star who heals and applies Electro continuously |
| Medium | Deep Secret reliquaries | They now contain 血红之证 and 炉火融炼之心 |
| Low | Further Cryo and Pyro direct-damage investment | Phase two does not buff those routes |
Genshin Impact phase 2 FAQ
Q: What is the Floor 12 first half bonus in phase 2?
A: Swirl reaction damage +200% and Star Swirl damage +75% .
Q: What is the phase 2 Abyssal Moon blessing?
A: 辉卷之月, which releases a shockwave dealing True Damage when you deal Swirl or Star Swirl damage, once every 4 seconds.
Q: Why is Electro-Charged recommended for the second half?
A: Floor 12's second half grants Electro-Charged +200% and Lunar Electro-Charged +75%, which an Electro plus Hydro pair captures cheaply.
Q: What are Floor 11's modifiers?
A: The whole party gains 60% Anemo damage bonus and 60% Electro damage bonus.
Come discuss in the Gghubs comments.
Genshin Impact phase 2 action checklist
- Switch the first half to an Anemo Swirl team that produces one Swirl per 4 seconds.
- Build the second half around Electro-Charged instead of an all-Anemo lineup.
- Dodge the Snezhnaya ranged attacks rather than tanking them through a shield.
- Open Deep Secret reliquaries after Floors 9 to 12 for 血红之证 and 炉火融炼之心.
- Pause further Cryo and Pyro direct-damage investment until the modifiers change back.